Chapter 1: Getting Started
Learn how to access Nuventive, navigate your workspace, and understand the basic layout and tools available. This chapter also covers how to request user access or make changes to existing permissions, ensuring your team is ready to begin entering and managing assessment data.
Logging in to Nuventive
Nuventive is accessed through A-State’s centralized Pack Portal. This page walks you through how to locate Nuventive within the portal and what to do if you encounter login issues.
Video Tutorial
Watch: Logging In to Nuventive
This short video walks you through the login process step-by-step.
Steps to Log In 

-
-
Go to pack.astate.edu
This is the university’s main hub for accessing campus tools. -
Log in using your A-State credentials
Enter your username and password through the university’s single sign-on system.
-
Find Nuventive in the left-hand menu
-
Click Campus Tools under the Tools section in the left-hand navigation.
-
If Nuventive isn’t immediately visible, click “Show More” to expand the list.
-
Select Nuventive from the expanded menu.
-
-
Alternatively, use the search bar
Type “Nuventive” in the search box at the top of the Pack Portal to quickly locate the tile.
-


Troubleshooting Access
-
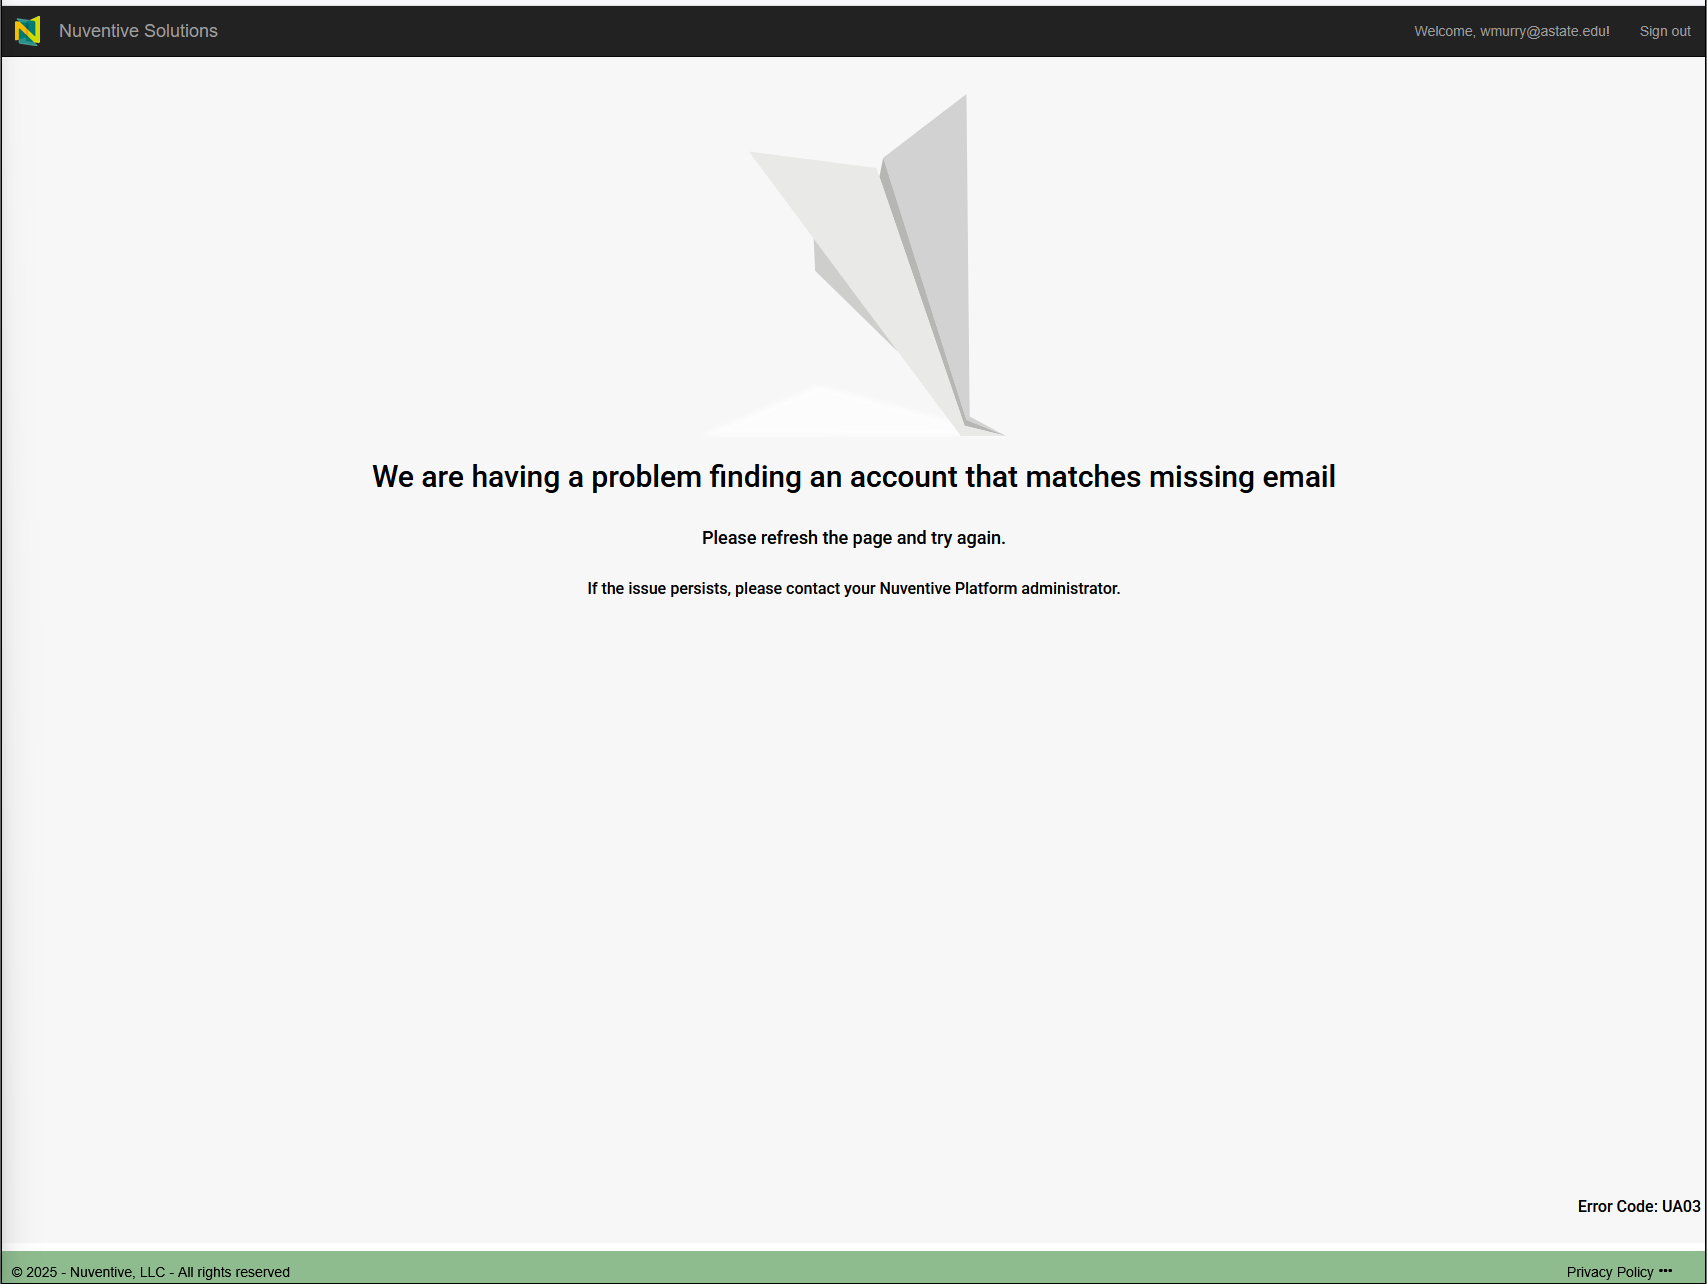
Error Message in Nuventive?

Contact the Office of Accreditation & Assessment:
- Phone: (870) 972-2989
- Location: Room 610, Dean B. Ellis Library
- Email: klee@astate.edu
-
Issues Logging into Pack Portal?
Contact the ITS Help Desk:- Phone: (870) 972-3933
- Email: itshelpdesk@AState.edu
Adding or Deleting Users
Adding or deleting users in Nuventive requires coordination with the Office of Accreditation and Assessment. This page explains what information you need to provide and the types of permissions available.
Video Tutorial
Watch: Adding or Deleting Users
This short video explains the process for requesting user additions or deletions.
Information Required
When requesting to add or delete a user, provide:
- Last Name
- First Name
- A-State Email Address
- Name of every workspace the user should be added to
- Role and permissions the user should receive
Roles and Permissions by Workspace
Academic Department and College Dashboards
- Full Access
Academic Programs
- Assessment Access – Faculty
- Assessment Leader
- External Reviewer Access (for program accreditors)
- Full Access
- PAR Form (for peer review)
- Read Only
Accreditation Standards
- Full Access
Auxiliary Assessment
- Full Access
- Read Only
Co-curricular Assessment
- Full Access
- Read Only
Discover 2025 Executive View
- Full Access
- Read Only
Extracurricular Assessment
- Full Access
- Read Only
General Education Quadrennial
- Assessment Access (Read Only Feedback)
- Feedback Access (Read Only Assessment Forms)
- Full Access (Assessment and Feedback)
Platform Administrator
- Canvas Analytics
Strategic Plan – Discover 2025
- Full Access
- Reviewer Access
Note: These roles and permissions apply across all spaces, including accreditation and co-curricular workspaces.
Need Help?
Contact the Office of Accreditation and Assessment:
Phone: (870) 972-2989
Location: Room 610, Dean B. Ellis Library
Email: assessment@astate.edu
Accessing Your Workspace
After logging into Nuventive through the Pack Portal, you’ll be directed to your personalized workspace. This is where you enter assessment data, upload documents, and manage program-level information. Most users will only have access to one workspace, but some may see multiple options depending on their role.
Video Tutorial
Watch: Accessing Your Workspace
This video walks you through how to locate and enter your assigned workspace in Nuventive.
Steps to Access Your Workspace
-
Log in to Nuventive via pack.astate.edu
Follow the login instructions from the Logging In to Nuventive page. -
Once Nuventive opens, look for the workspace selection screen
- If you only have one workspace, it will open automatically.
- If you have access to multiple workspaces (e.g., college, department, program, or other specialized administrative roles), you’ll see a list to choose from.

-
Click the name of the workspace you want to enter
- Workspaces are typically named by department, program, or role.
- If you’re unsure which workspace to select, contact the Office of Accreditation & Assessment.


Tips for Navigating Your Workspace
Need Help?
If your workspace is missing or incorrect, contact:
Office of Accreditation & Assessment: (870) 972-2989
klee@astate.edu
Room 610, Dean B. Ellis Library
Workspace Menu Overview
The Nuventive workspace menu is your central hub for managing assessment tasks. While the layout may vary slightly depending on your role or program, most users will see a consistent set of tools for entering outcomes, uploading documents, and reviewing reports.
Video Tutorial
Watch: Workspace Menu Overview
This video walks you through the layout and function of each section in the Nuventive workspace menu.
Home Page Features
-
Completion Indicators
- Red ❌ or green ✅ icons show whether each section is complete.
- These indicators update once daily, typically around midnight.
-
Right-Hand Viewing Panels
- Toggle between layout options and access supplemental documents.
- If the home screen appears empty, use these panels to explore additional views.
-
Bottom-of-Screen Reports
- Some reports can be accessed directly from the home page using toggles at the bottom.
Menu Sections Explained

-
Annual Checklist
- Located at the top of the left-hand menu.
- Returns you to the workspace home page.
- Useful for tracking completion status across key sections.
-
Program Information
- Contains standing details about your program, such as mission statements and degree levels.
- Program Review
- Used by programs without specialized accreditation to complete their annual review.
-
Assessment
- Where you’ll spend most of your time.
- Includes:
- Outcomes, Methods, and Findings: Enter and track assessment data.
- Mapping: Align outcomes with courses or standards.
- End of Cycle Summary: Reflect on results and plan improvements.
- Printable Reports: Generate formatted reports for review or submission.
- Canvas: View linked data from Canvas if applicable.
- Dashboards: Visualize assessment data across departments or colleges.
-
Documents
- Archive for supplemental materials such as syllabi, meeting notes, or evidence files.
- Can be accessed from various viewing panels.
-
Program Assessment Review Rubric
- View the rubric used for peer evaluation.
- Receive feedback from reviewers directly in this section.