
Advanced Editing and Uploading External Media
? Downloading Kaltura Videos for Editing
⚙️Enable Downloading for Your Media
By default, videos uploaded to Kaltura do not allow downloading.
Only the media owner can enable downloads.
You can allow viewers to download your media in different formats. To enable downloading of a video, follow these instructions.
-
Go to My Media
Navigate to the video you want to enable for download and click on its title or thumbnail. -
Open the Edit Menu
On the media page, click the three dots under the video player.
Select Edit from the menu to open the edit media page.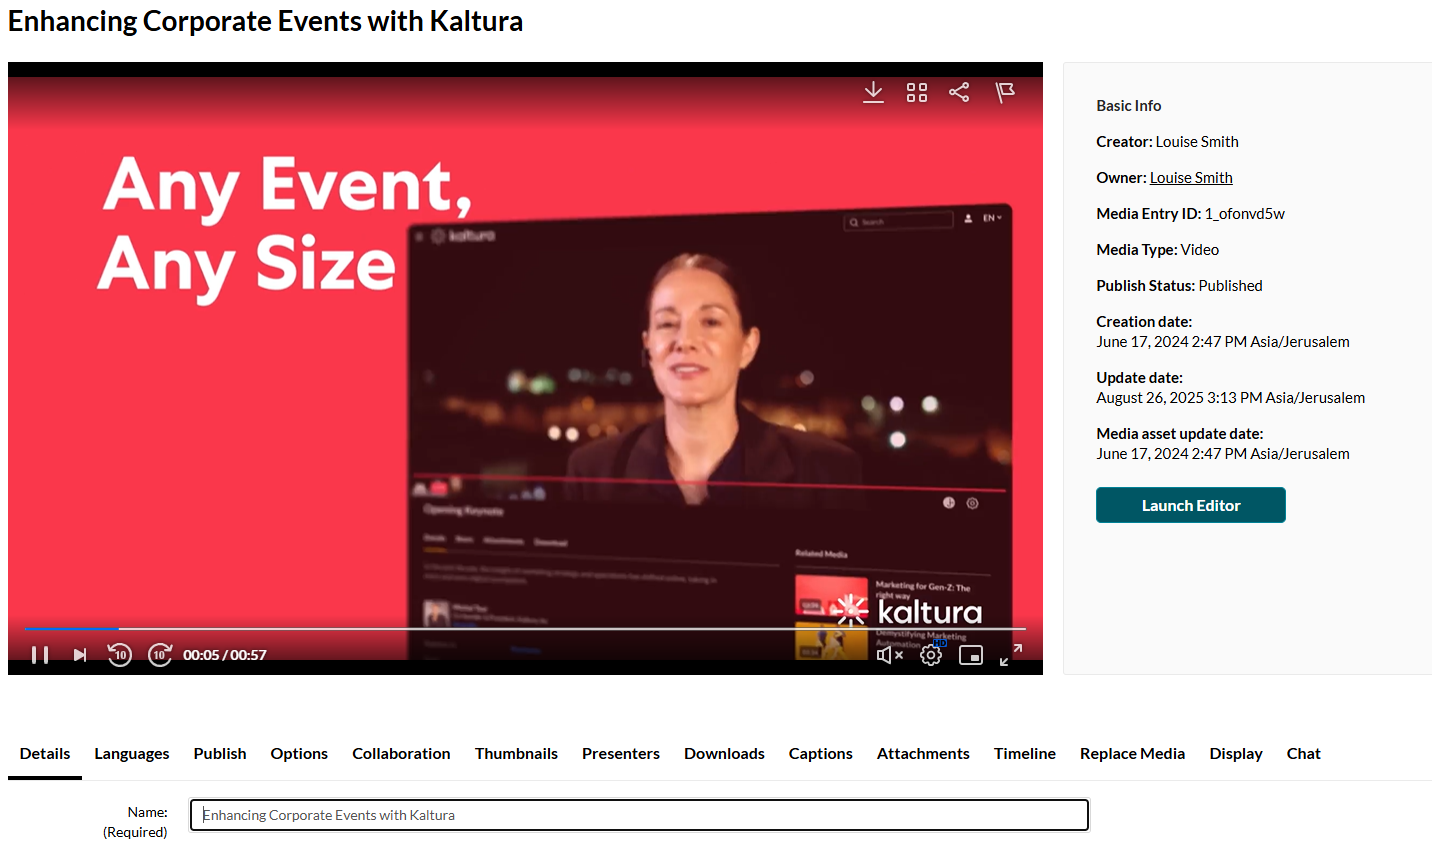
-
Enable Downloading
- Click the Downloads tab in the Edit Media page.

- Check one or more of the available formats (e.g., Source, HD, SD) that you want users to be able to download.

Available formats are determined by your system administrator.
- Click Save to apply your changes.
- Click the Downloads tab in the Edit Media page.


? Download a Video
Once downloading is enabled by the media owner, viewers can download the video from the media page by following these steps.
-
Find the Video
Go to My Media or Media Gallery and click on the thumbnail of the video you want to download. -
Open the Download Menu
On the media page, click the three dots or ACTIONS menu (depending on your interface).
Select Download from the menu.This option only appears if the media owner has enabled downloads.
-
Choose a Format
A list of available formats will appear. Click the format you want to download.
-
Save the File
The video will begin downloading to your device.


?️ Edit with Adobe Creative Cloud
Once downloaded, you can use Adobe tools for more complex editing:
- Adobe Premiere Pro: Multi-track editing, transitions, titles
- Adobe After Effects: Motion graphics, animations, effects
Refer to the following Knowledge Base Pages for a list of available editing tools and instructions on how to request an Adobe Creative Cloud account.
- Campus Technology & Support Services Index → Office Productivity & Collaboration
- Learning Technology Index
? Uploading Media from Your Desktop
ITS is working to have scheduled Microsoft Teams recordings automatically uploaded to Kaltura.
Zoom and Teams recordings are typically saved to your OneDrive or your computer, depending on your settings. If you're unsure where your recordings are stored, contact the ITS Help Desk for assistance.
- Go to My Media or Media Gallery
- Click Add New → Media Upload

Drag and drop your file.
OR
- Select a file from your computer
- Enter a Title, Description, and Tags

- Click Save


➤ See: Upload Media