Creating a Signable Document Without Using a Form
Learn how to set up a new project, configure document signers, and add necessary input fields for a formal signing process. This guide covers the complete workflow from document upload to publishing and sharing with designated recipients. This is not for workflows that require a form.
Project Setup
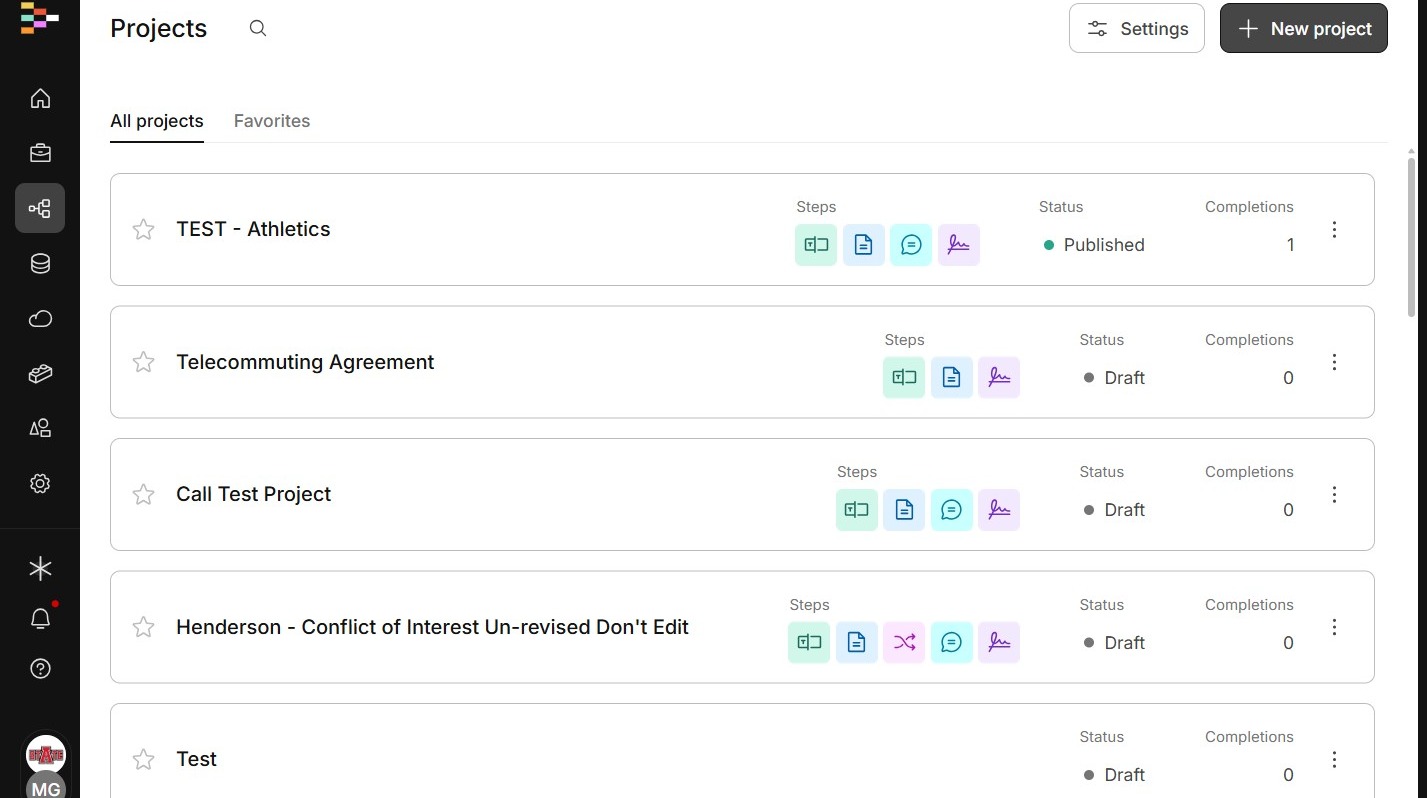
2. Click "New project"
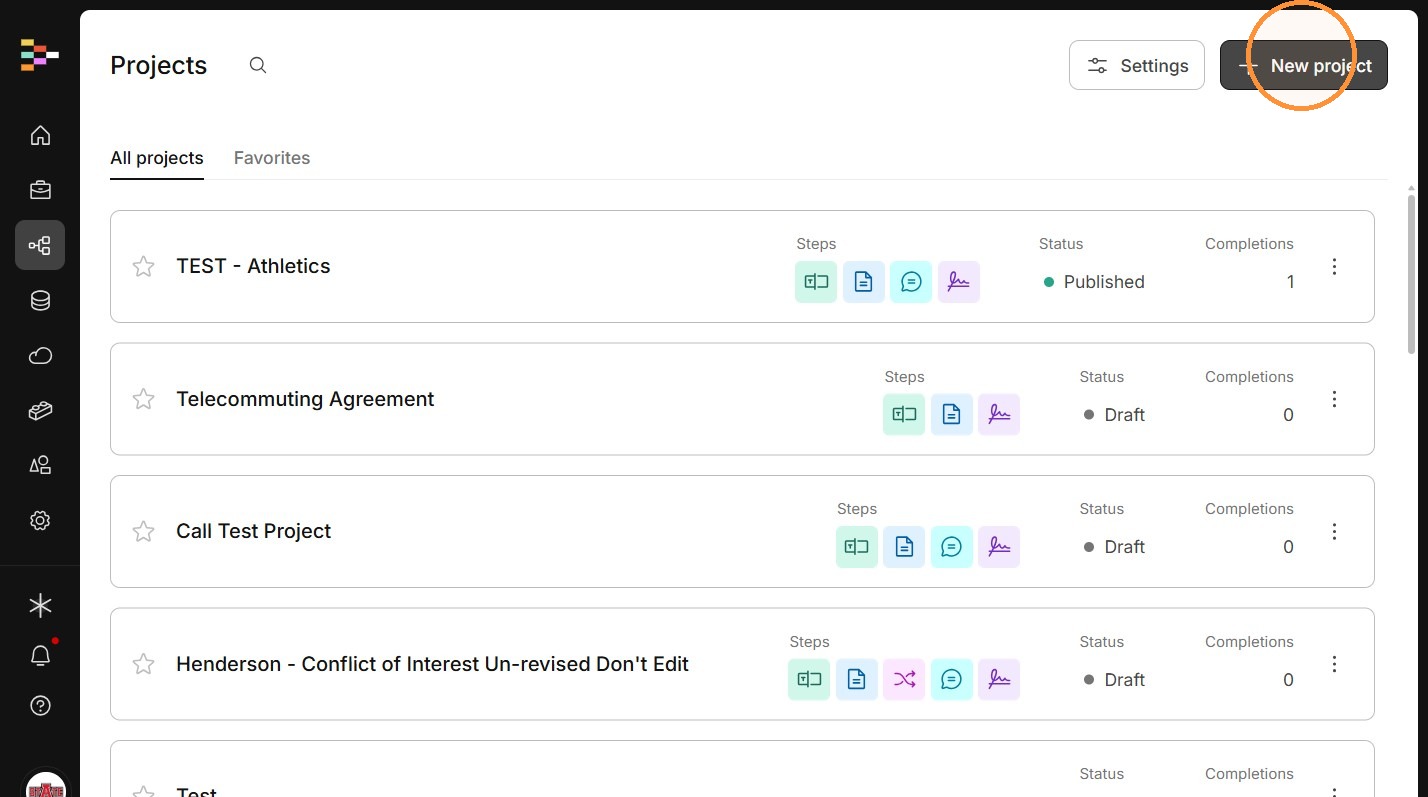
3. Enter the project name.
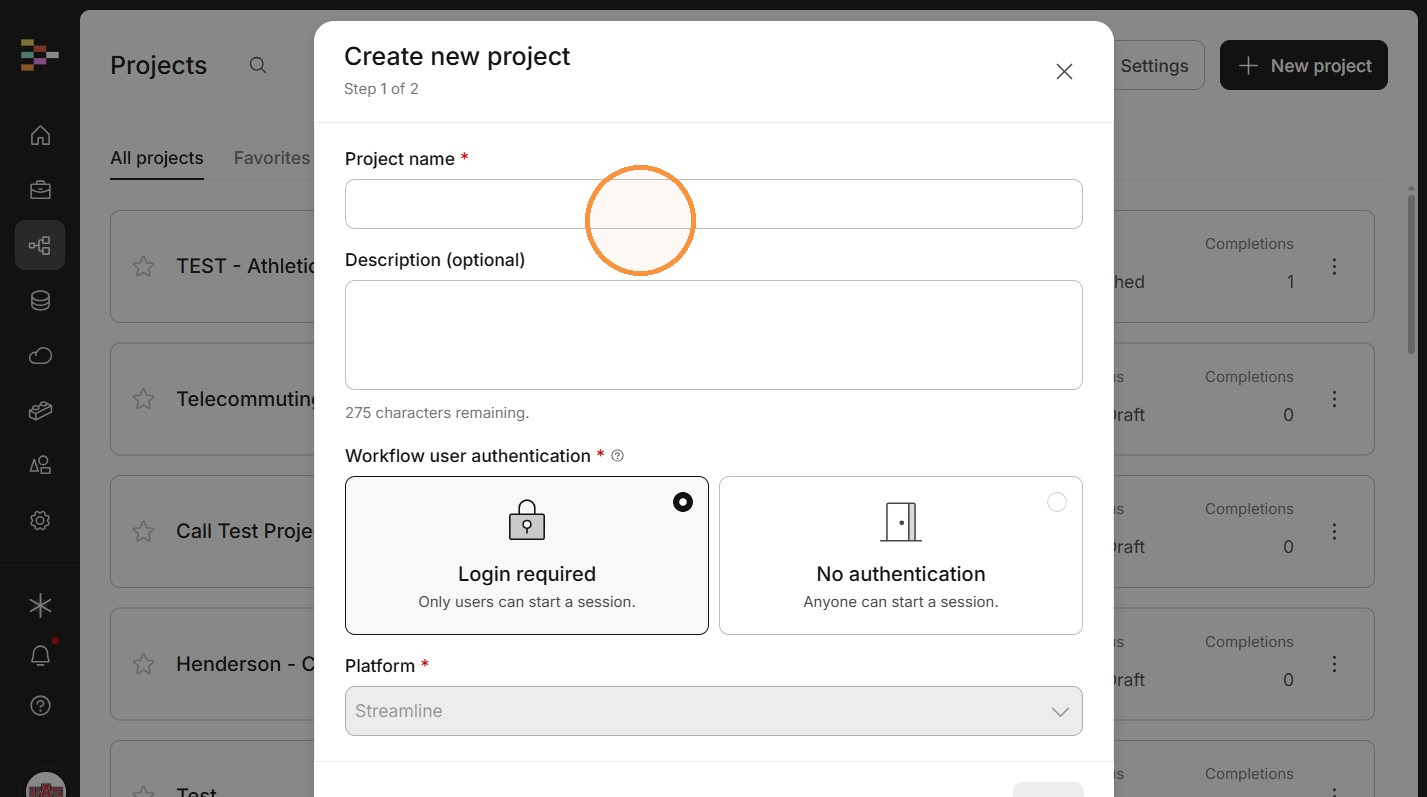
4. Select No authentication.
Using "Login required" will require the user to create an account and verify it through email. This is very rare.
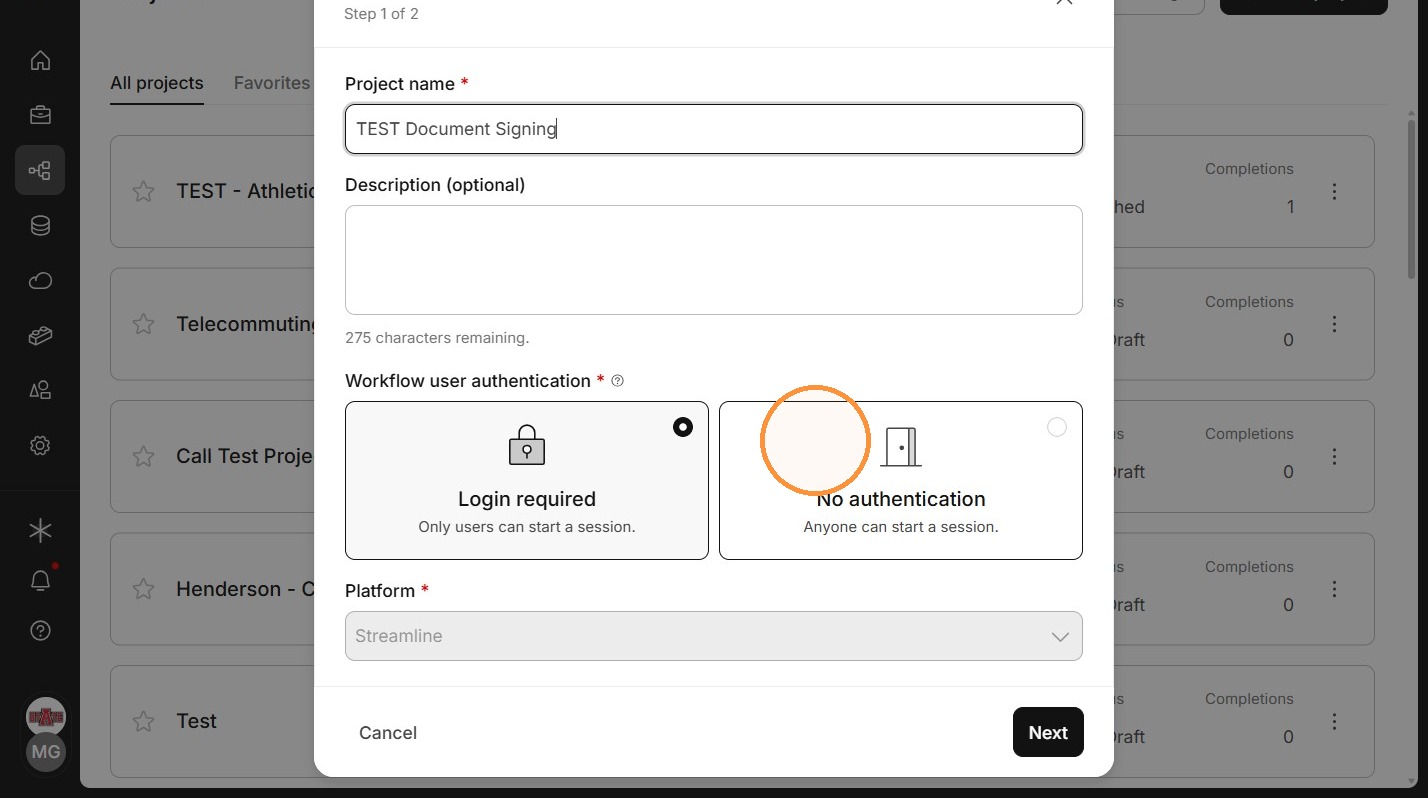
5. Click "Next"
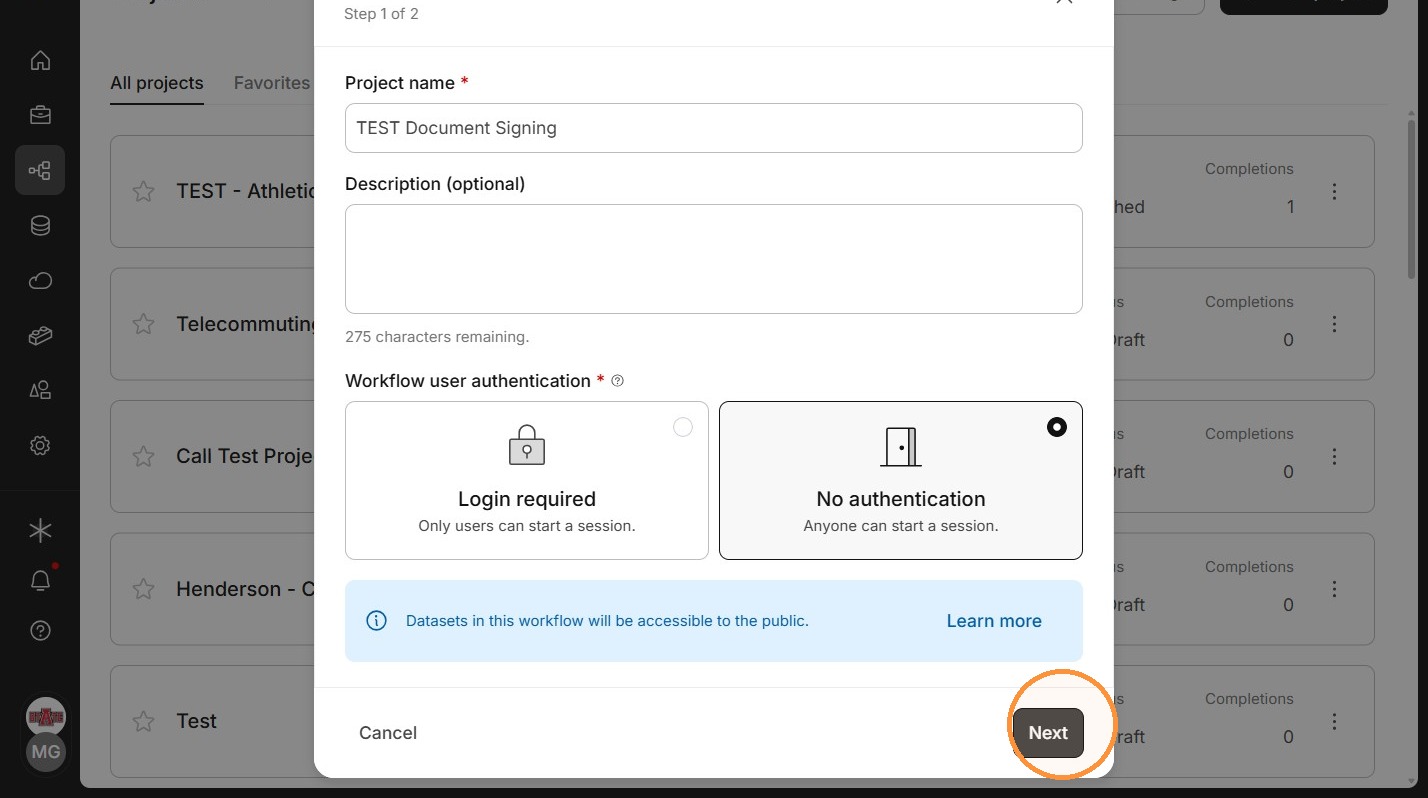
6. Click Add users or groups to add any groups or users that may need access to the project.
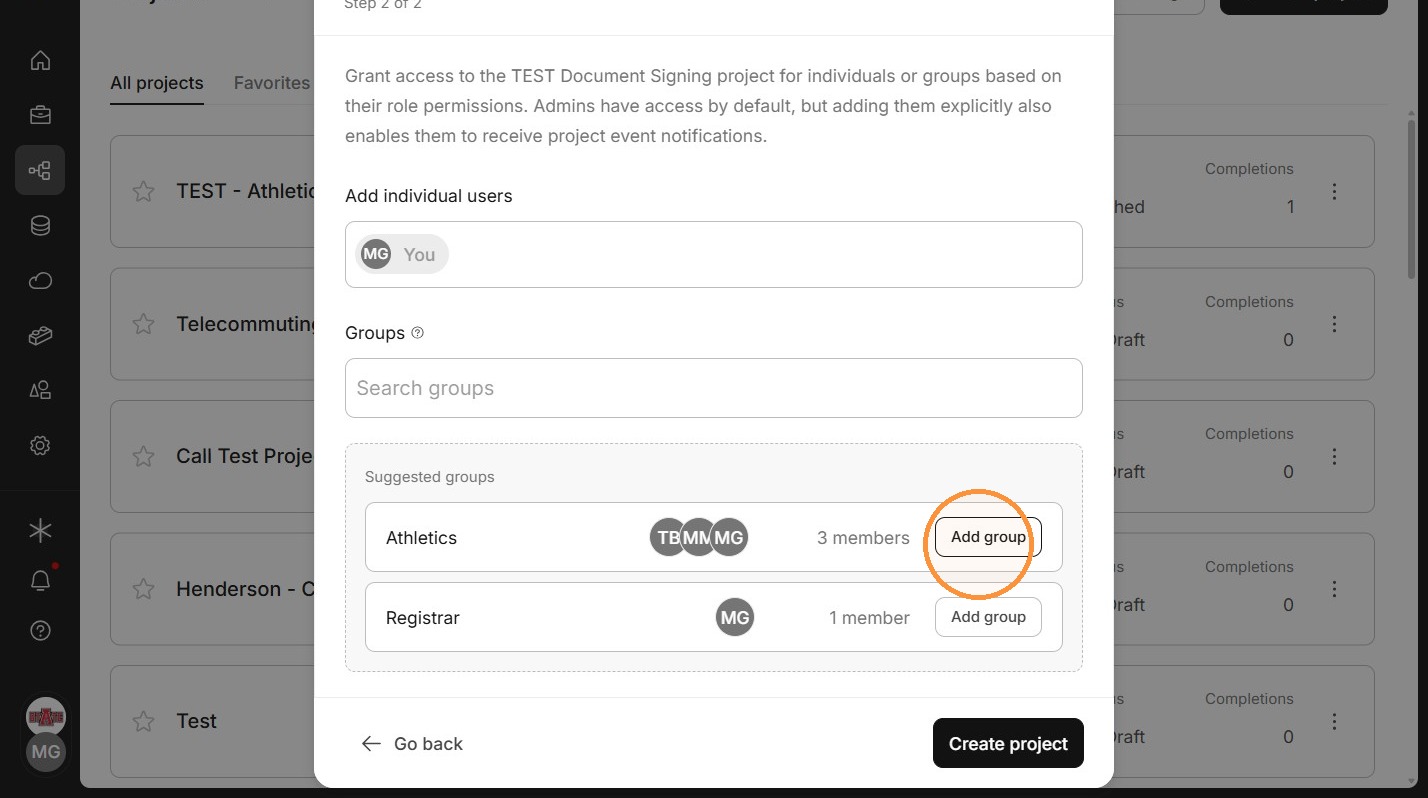
7. Click "Create project"
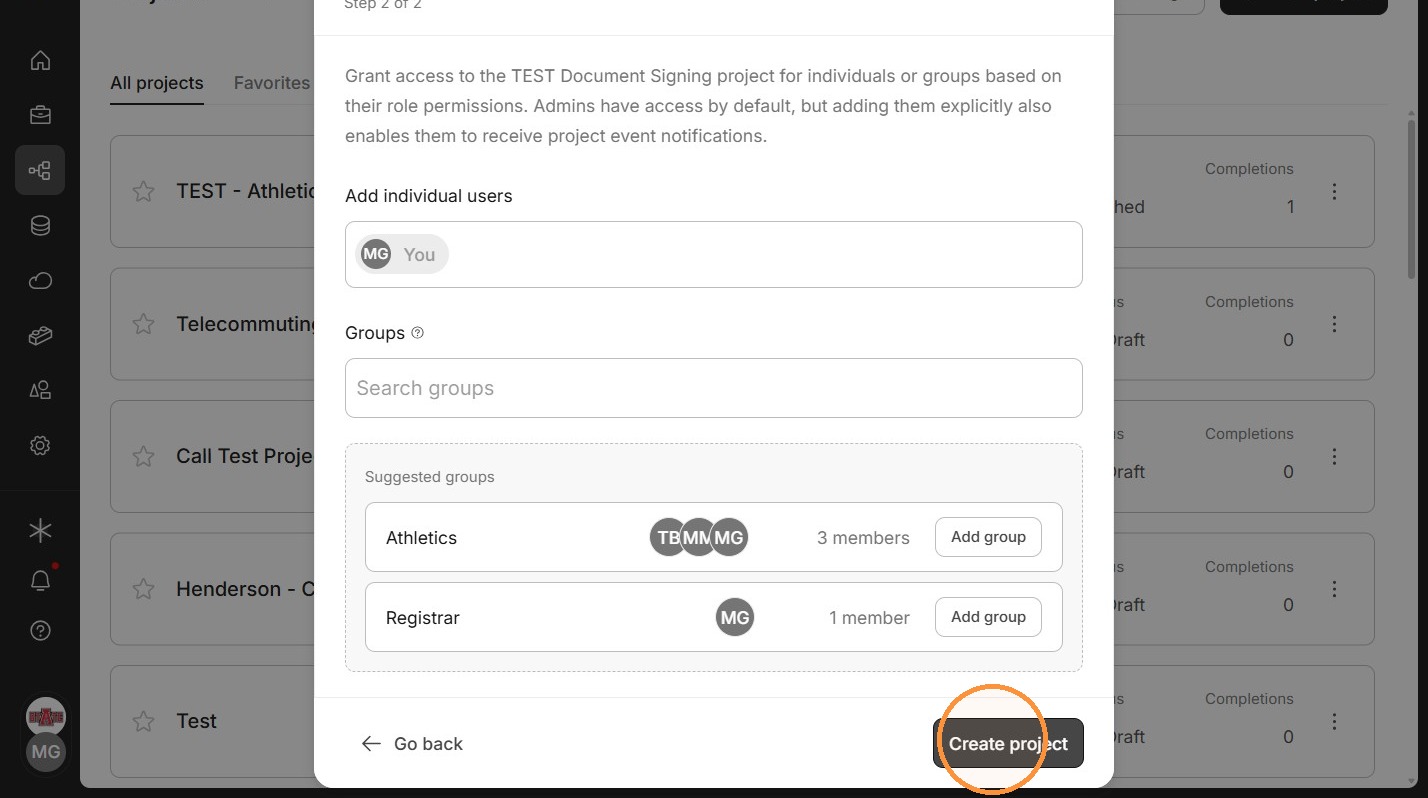
Workflow Builder
8. Close the Omni chat panel.
If you choose to use the Omni AI builder, manually review the steps for accuracy.
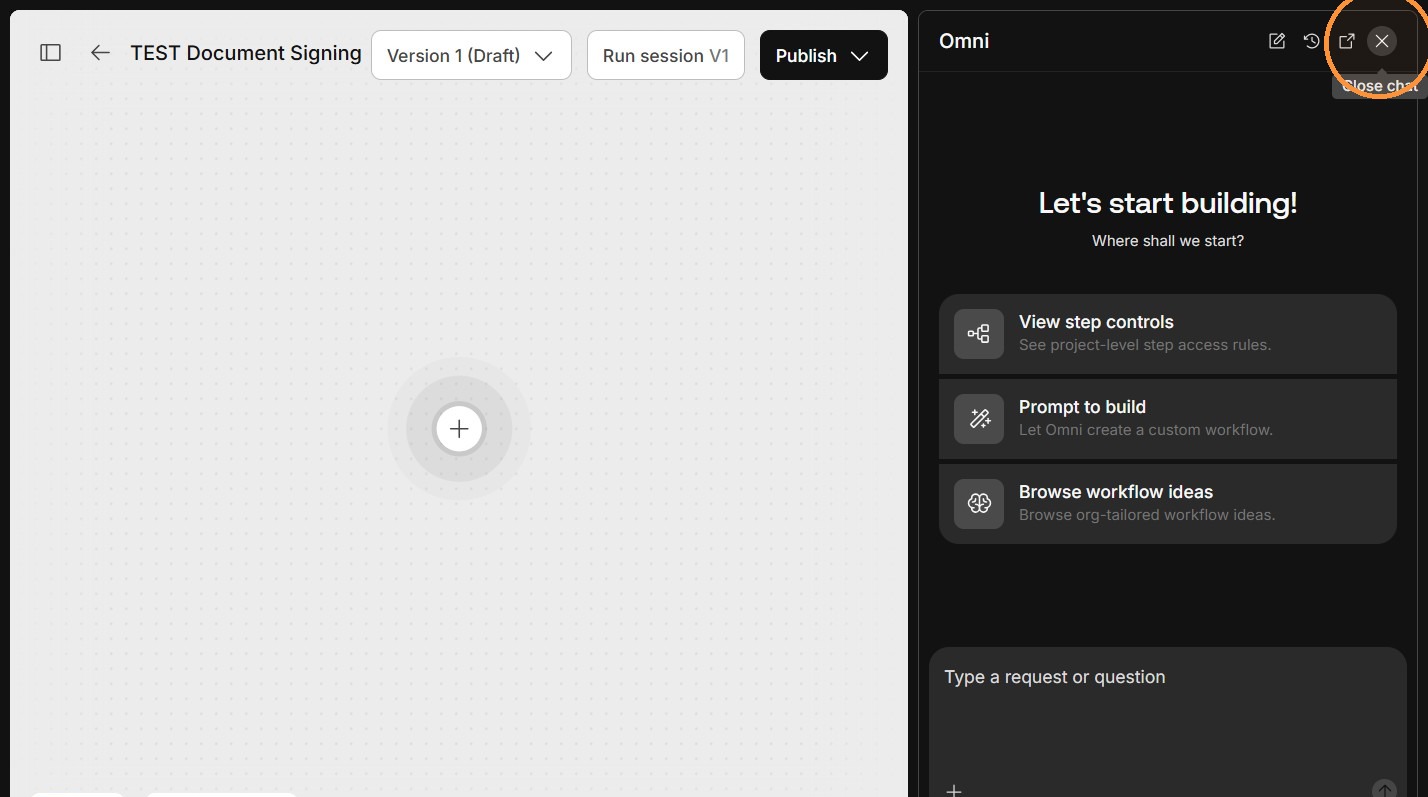
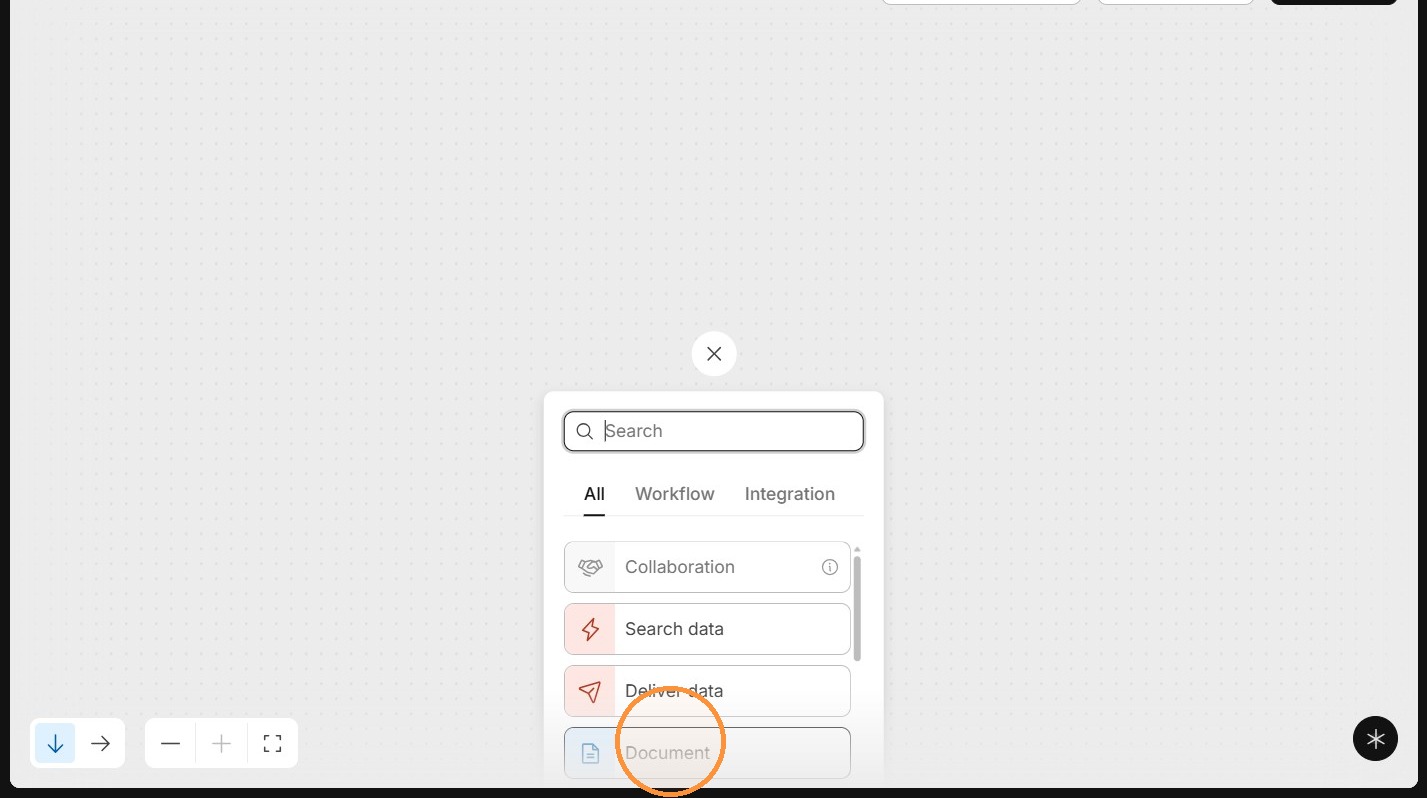
9. Click the plus button on the workflow canvas.
Click "Document"
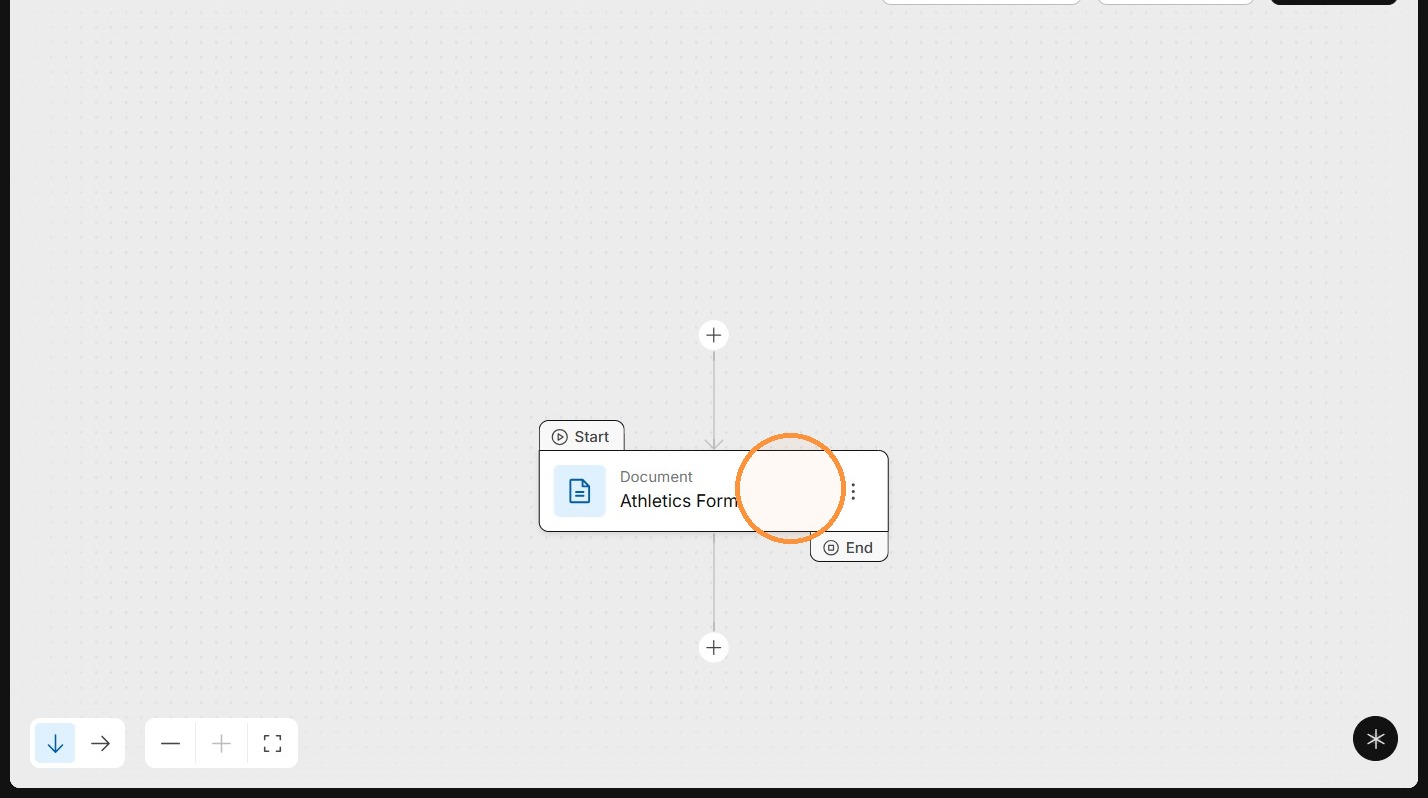
10. Name your document.
Document Configuration
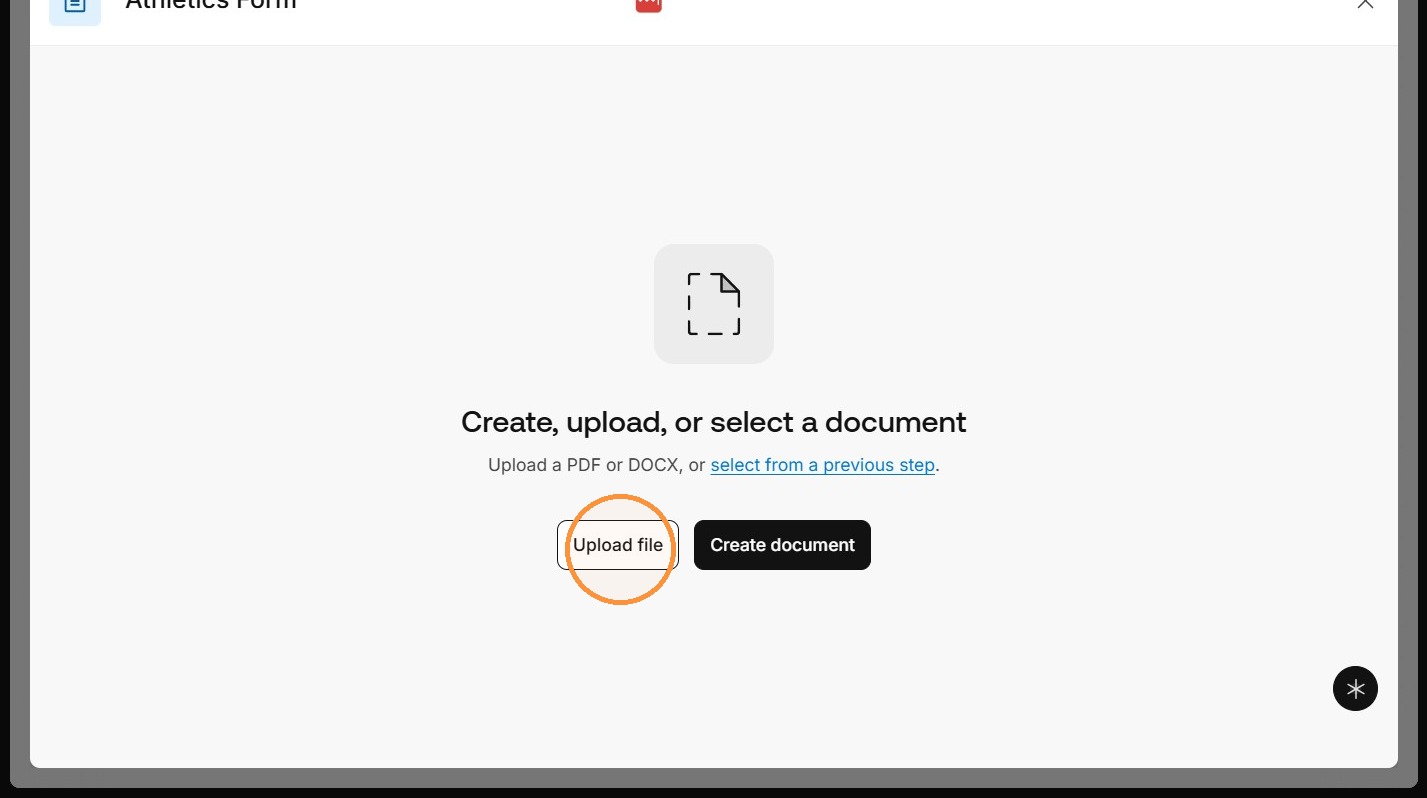
11. Click Upload file.
You can create a document with that option. It will take you to a standard text editor (like Word) to begin creating the document. Uploading a file already created is the most common.
12. Open the Sign fields tab.
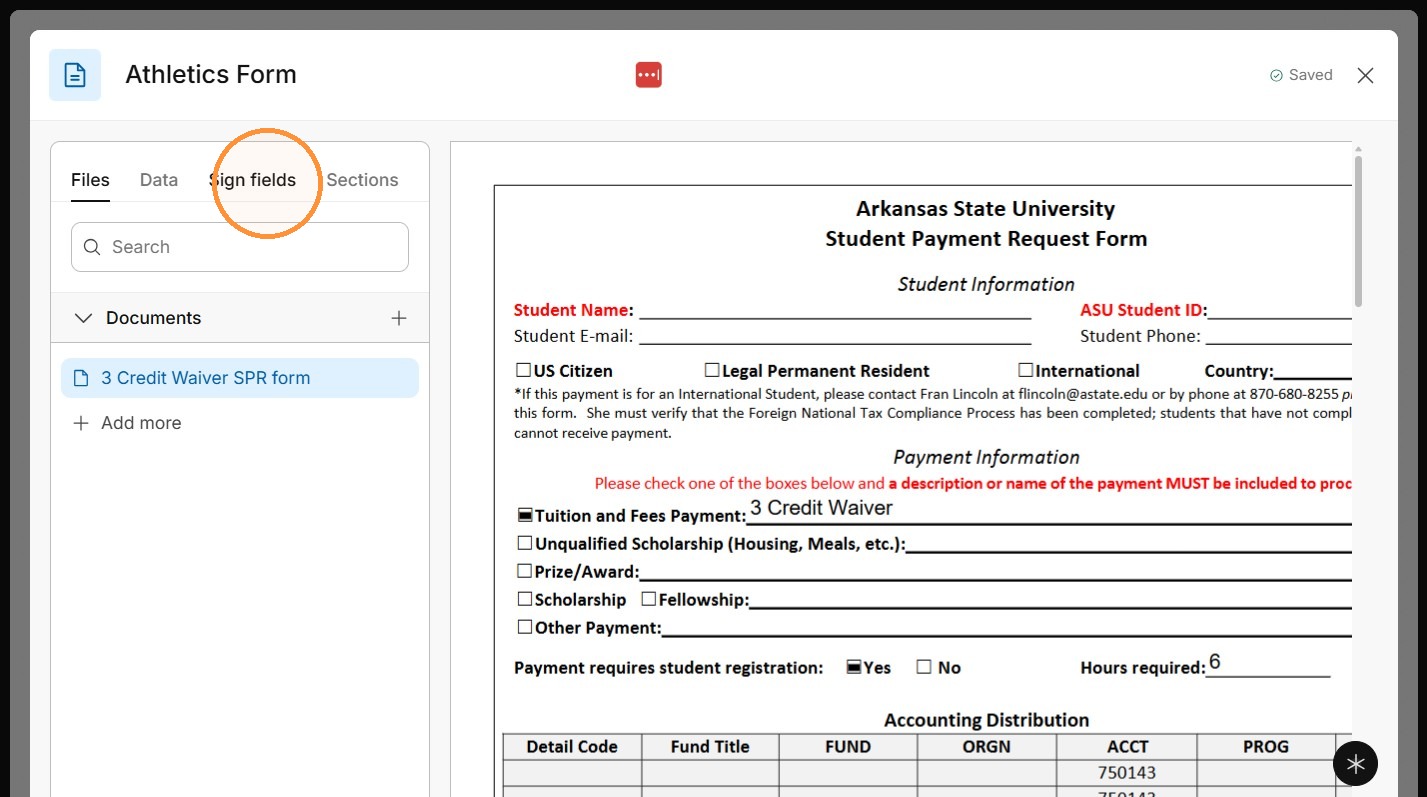
13. Click Add signer.
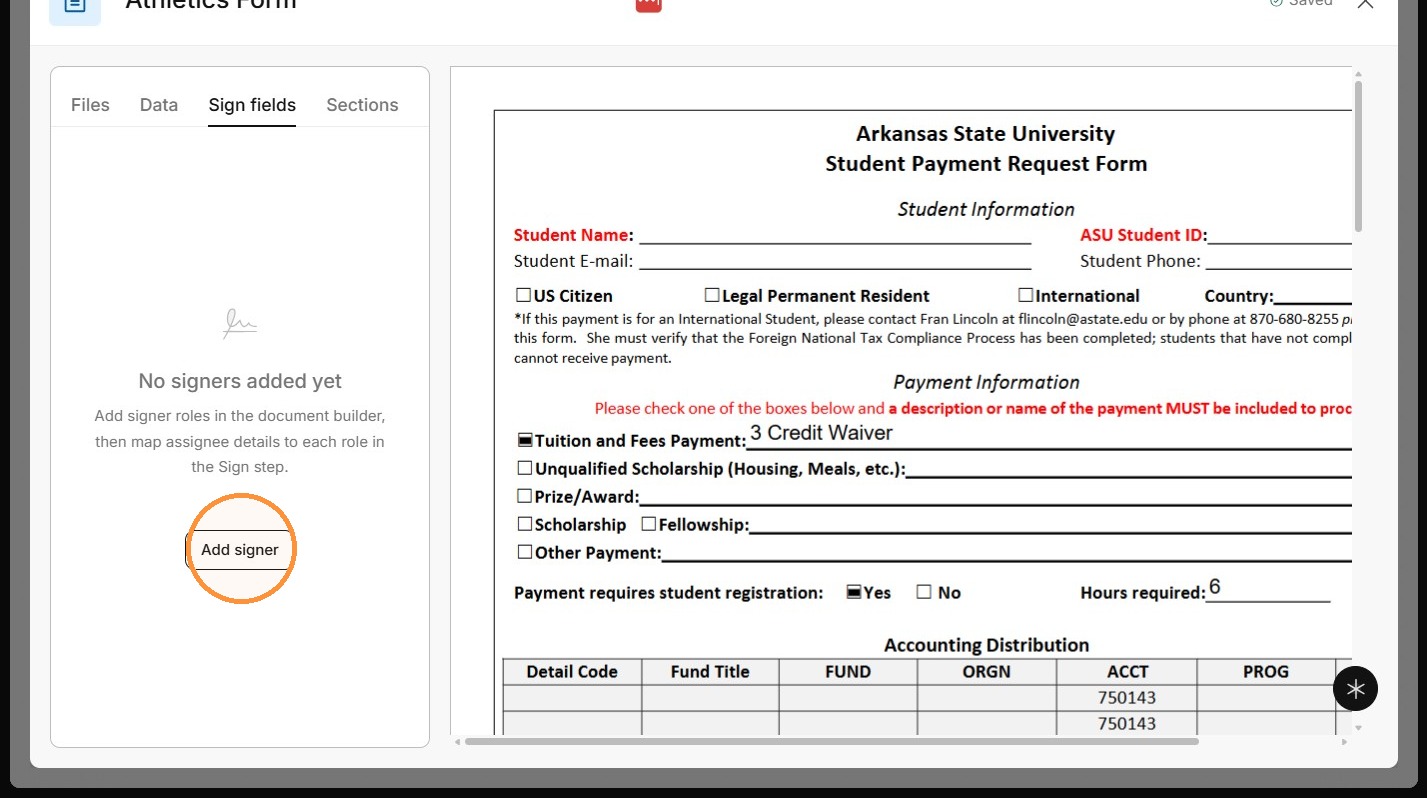
14. To add additional signers, Open Manage assignees.
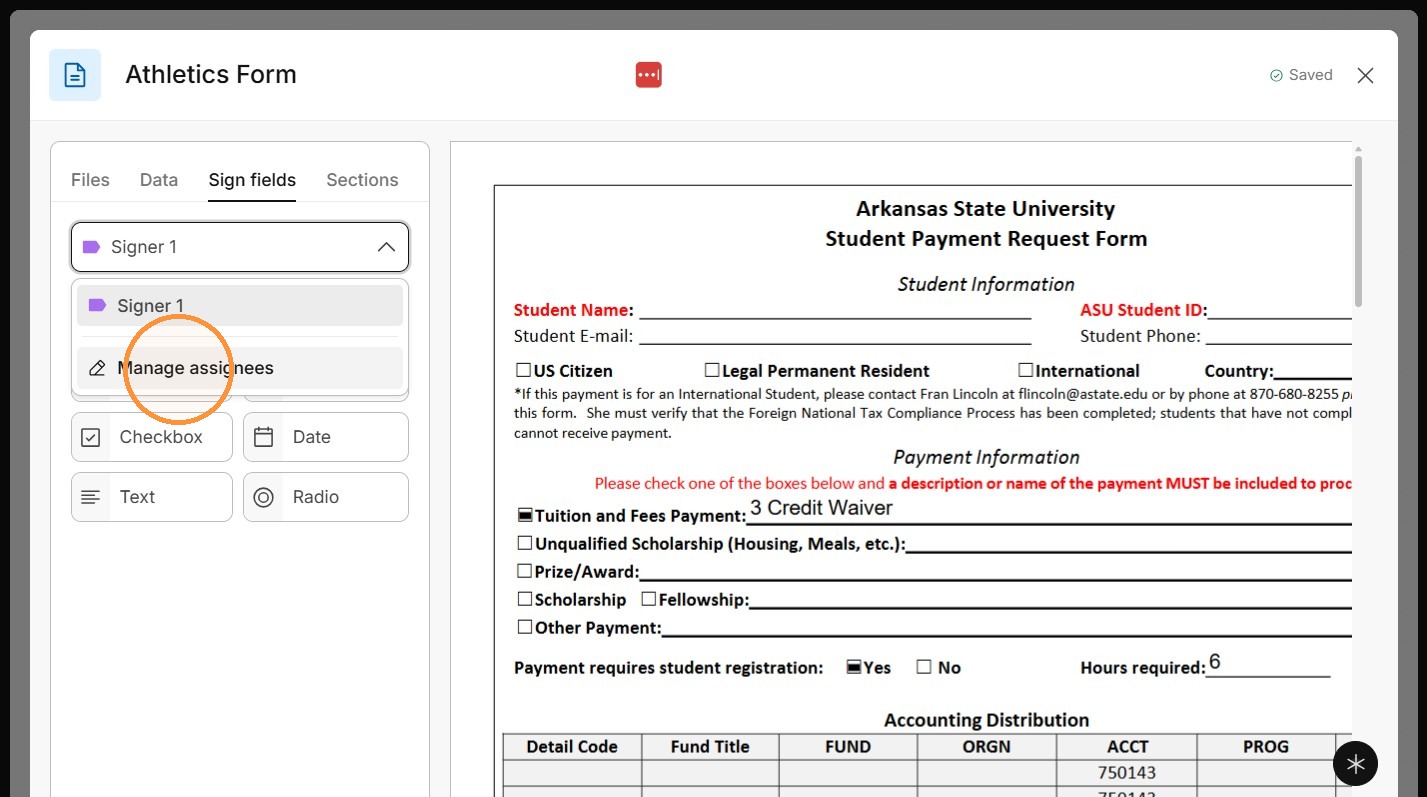
15. Create a signer for each person who needs to review or sign the document.
Click "Save"
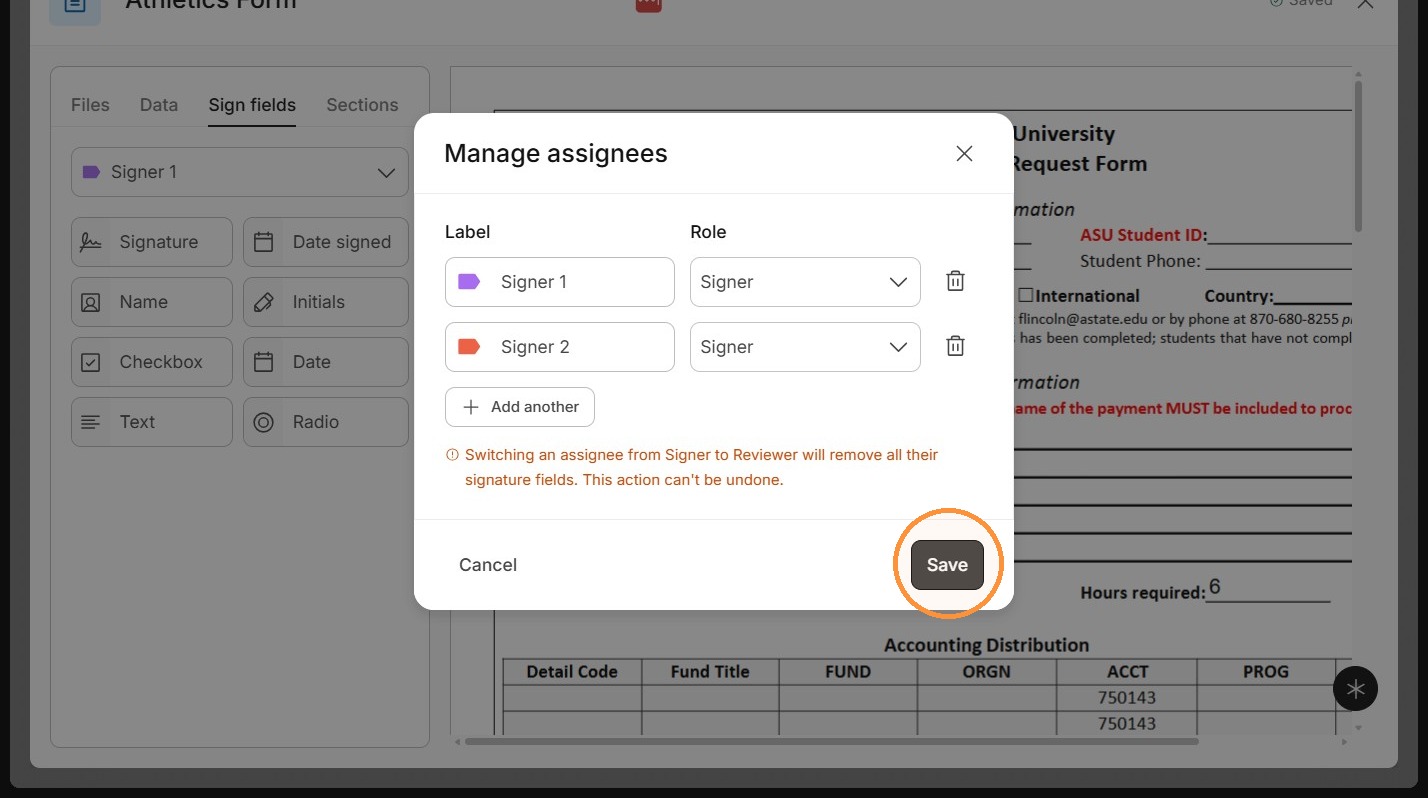
16. Make sure you select the correct "signer".
If signer 1 is supposed to fill out the form, select them first.
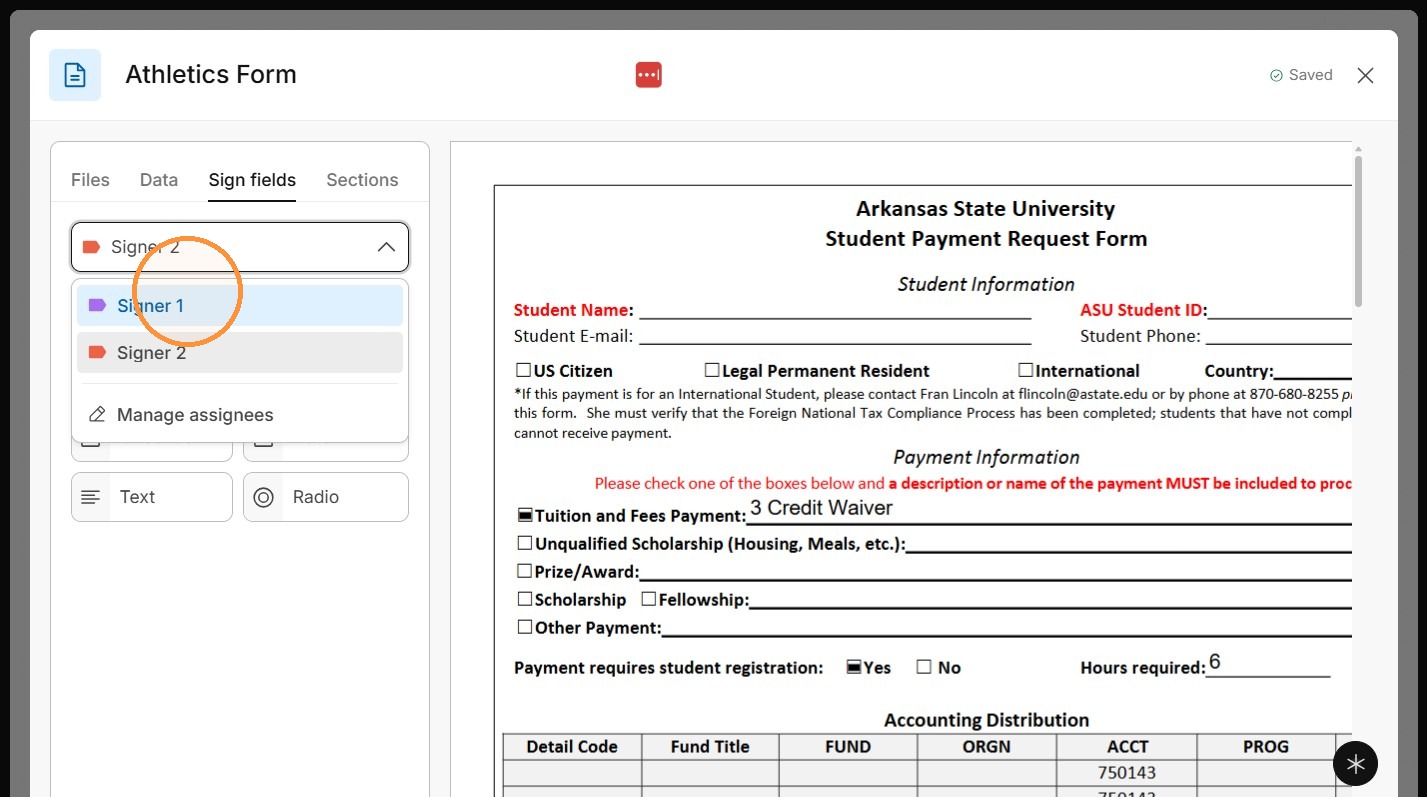
17. Drag over the fields that you need. You should size them appropriately.
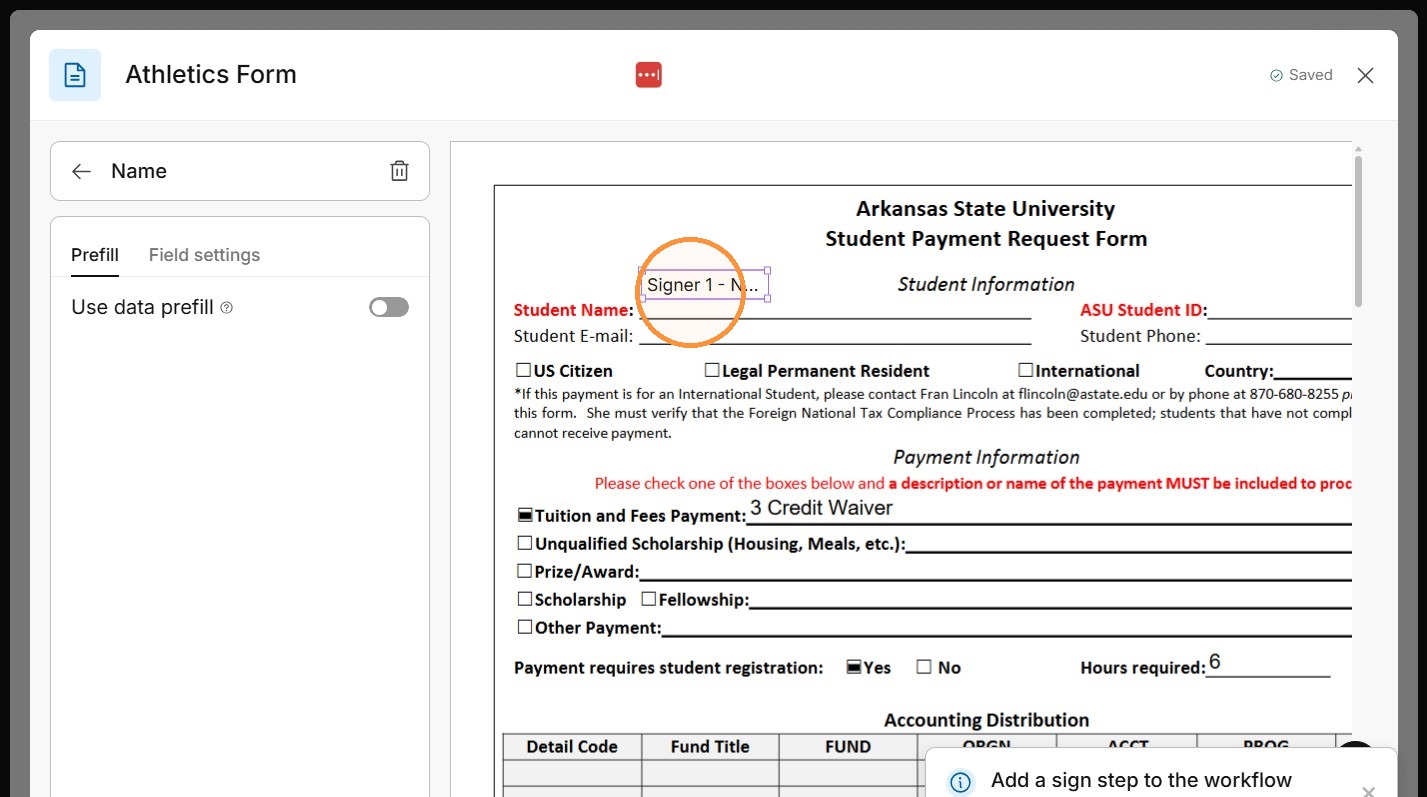
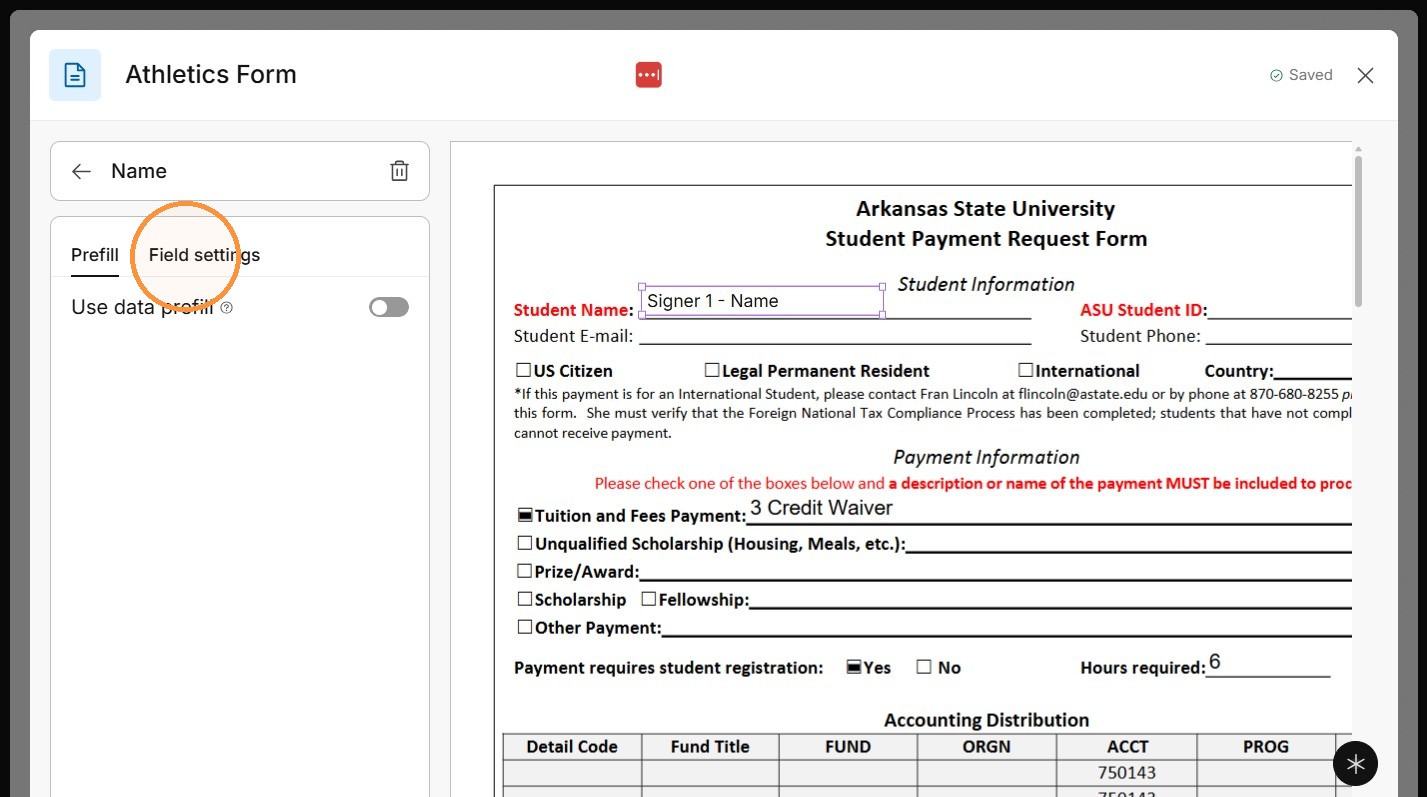
18. Open Field settings.
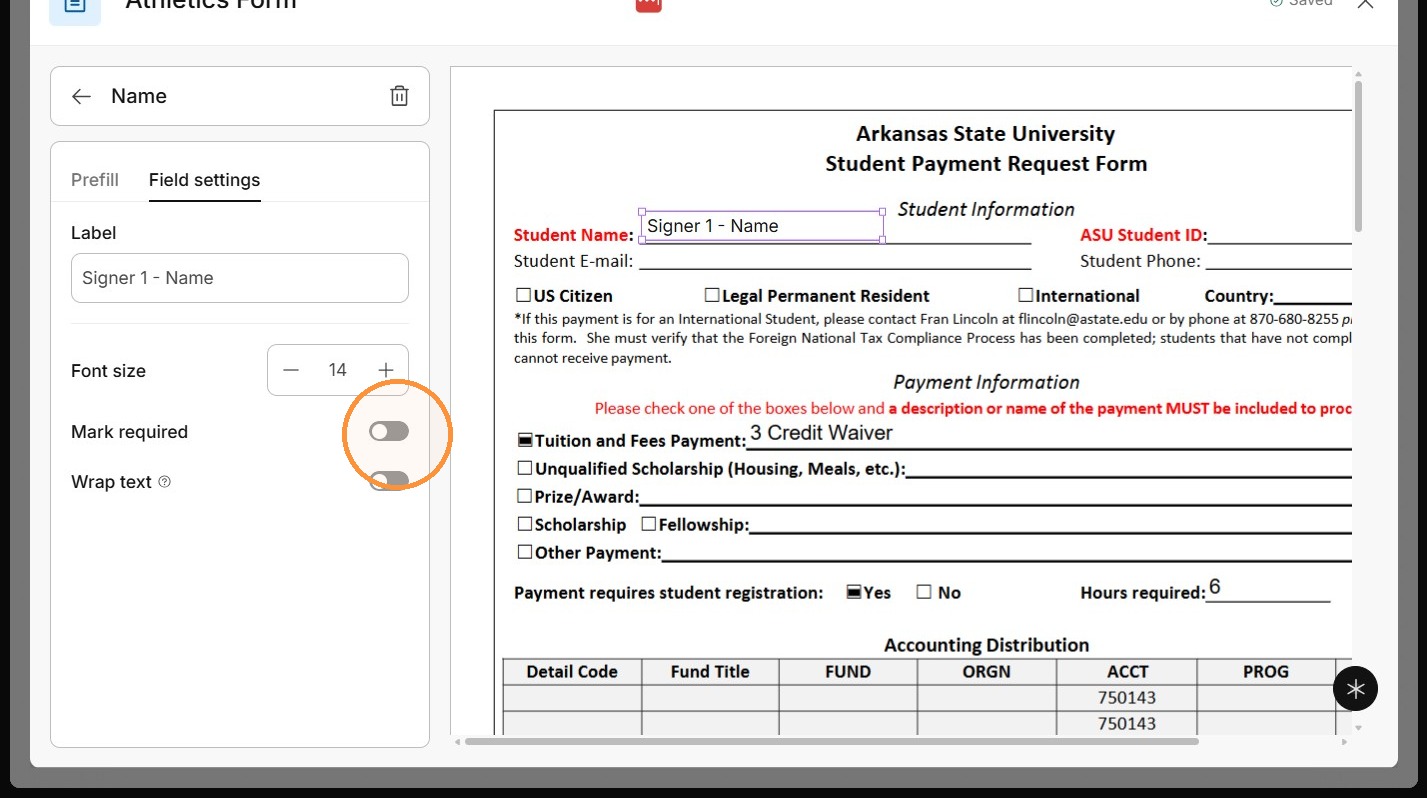
19. Click the Mark required toggle.
20. Return to the sign-field controls.
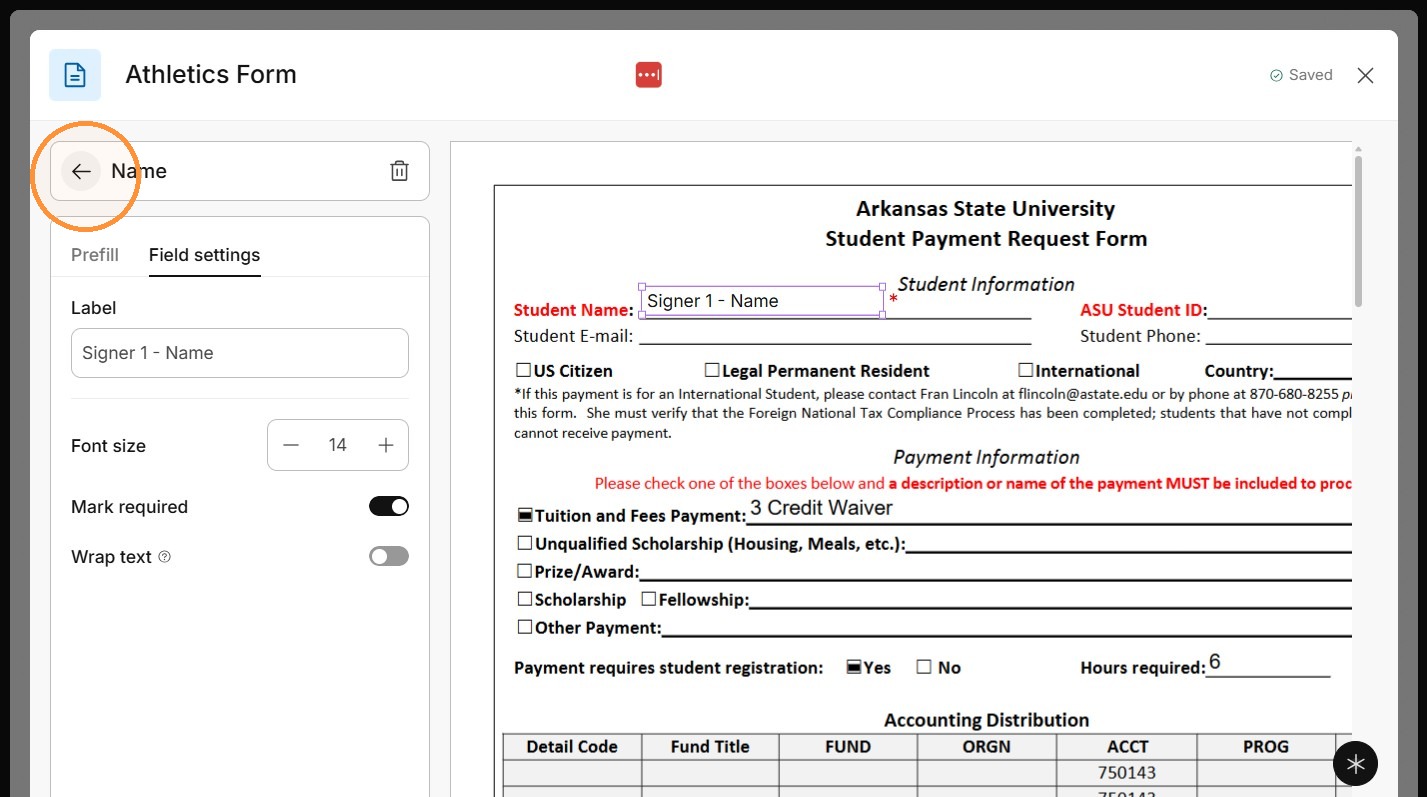
21. Drag "Text" over to the areas you need information for, such as student email or phone number.
Label your fields; it will help during the sign step. If a text field is to collect an email, name it email.
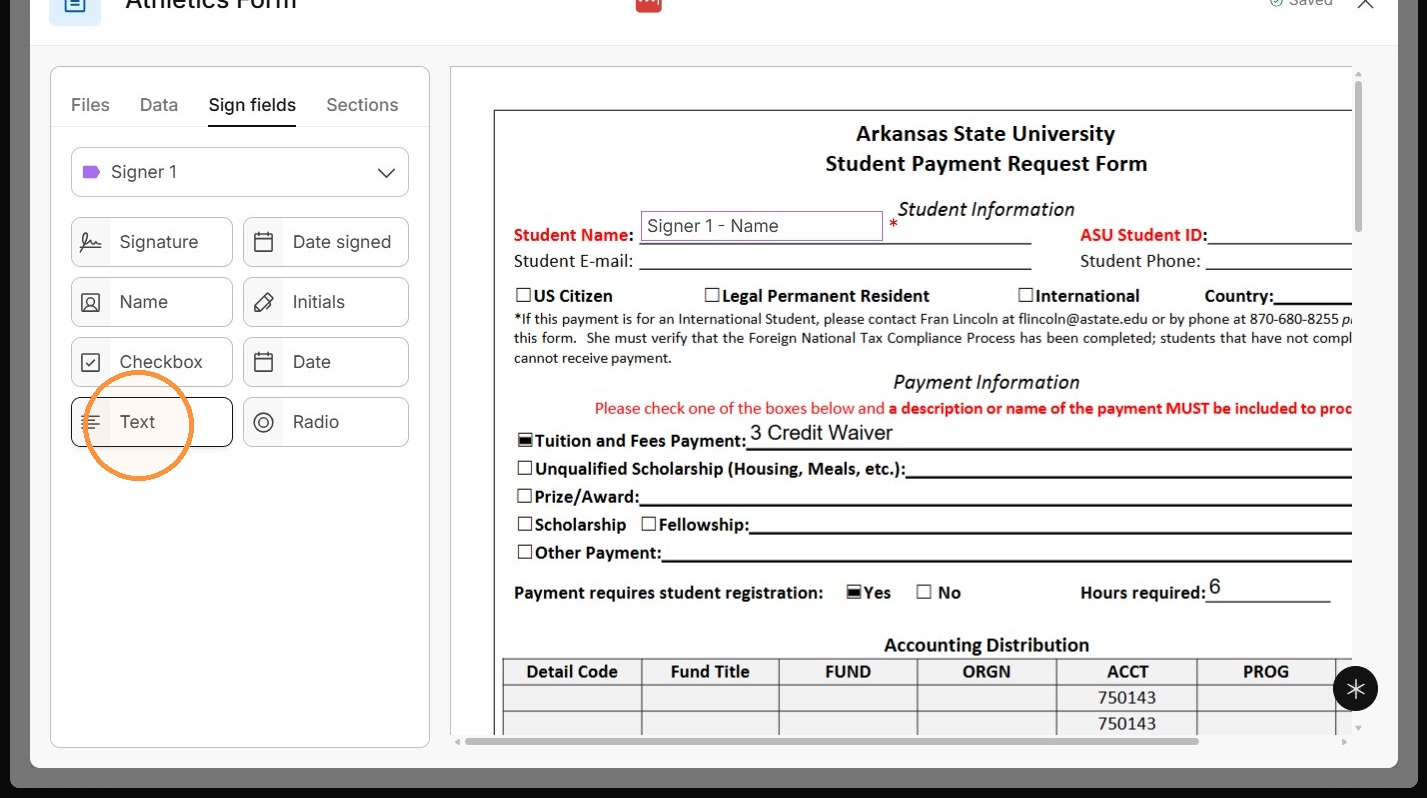
22. Click the Mark required toggle anytime something has to be done before continuing.
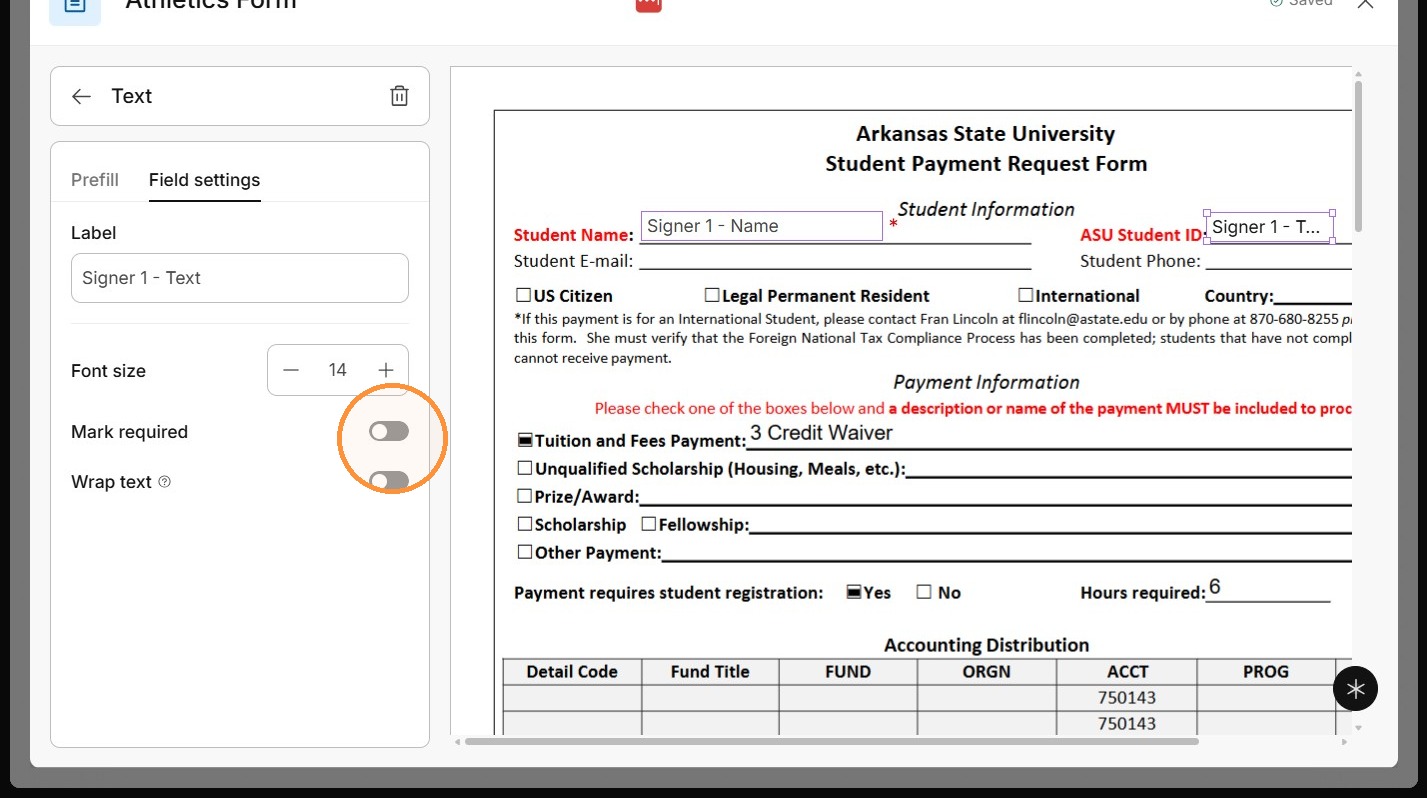
23. Return to the sign-field controls.
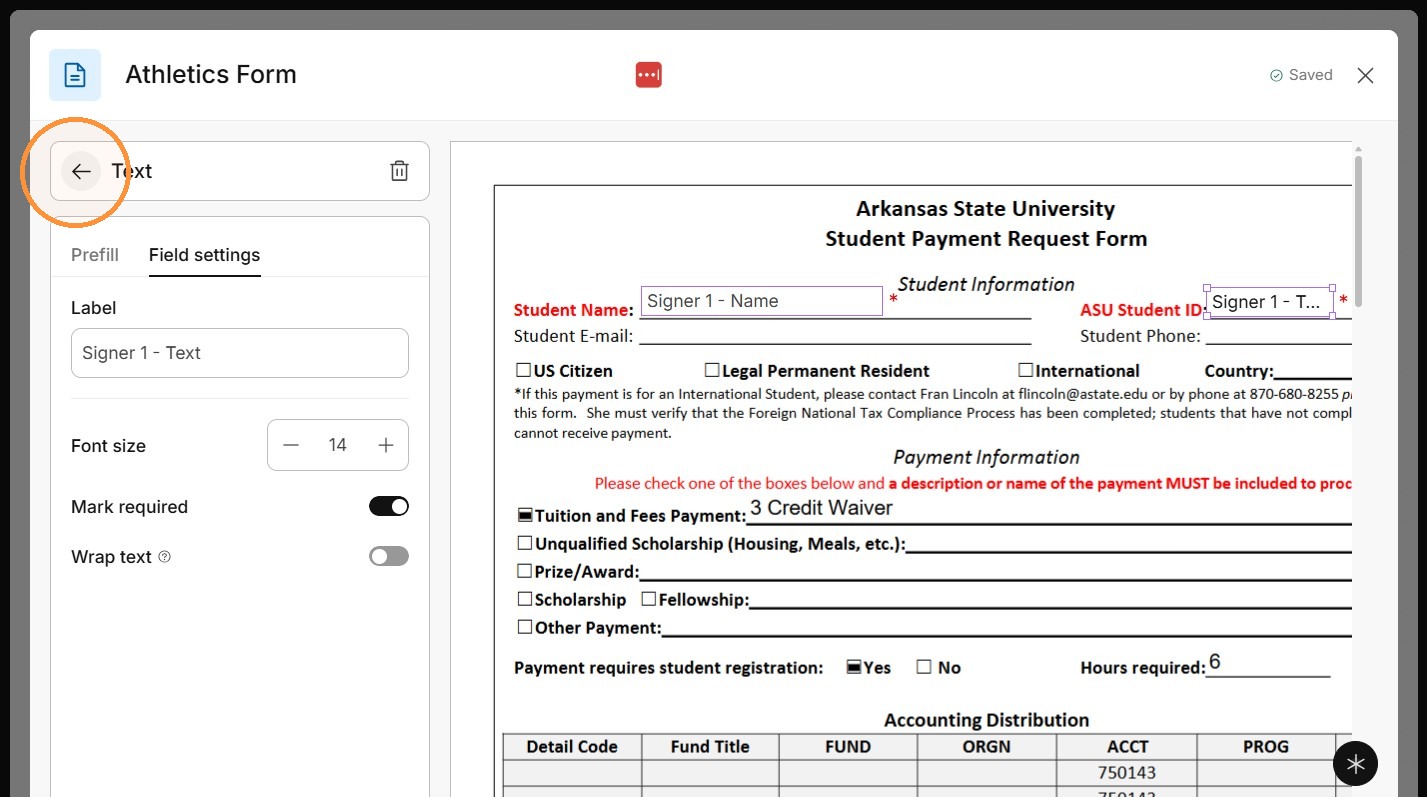
24. If you need checkboxes as an option, move over 1 checkbox field.
(Not 3 in this example)
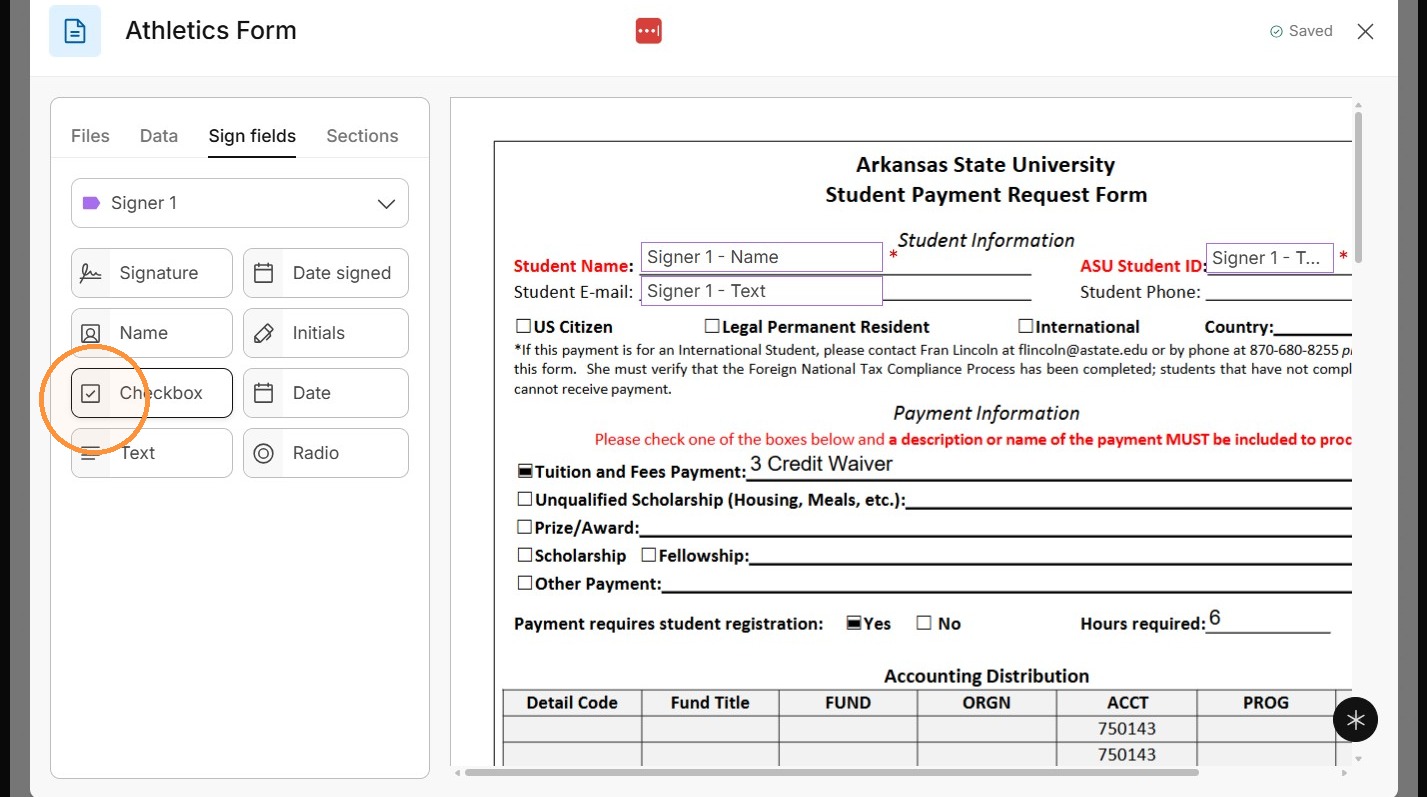
25. Place the checkbox on the document and size it. Once you click away from the box, you can drag it around easily.
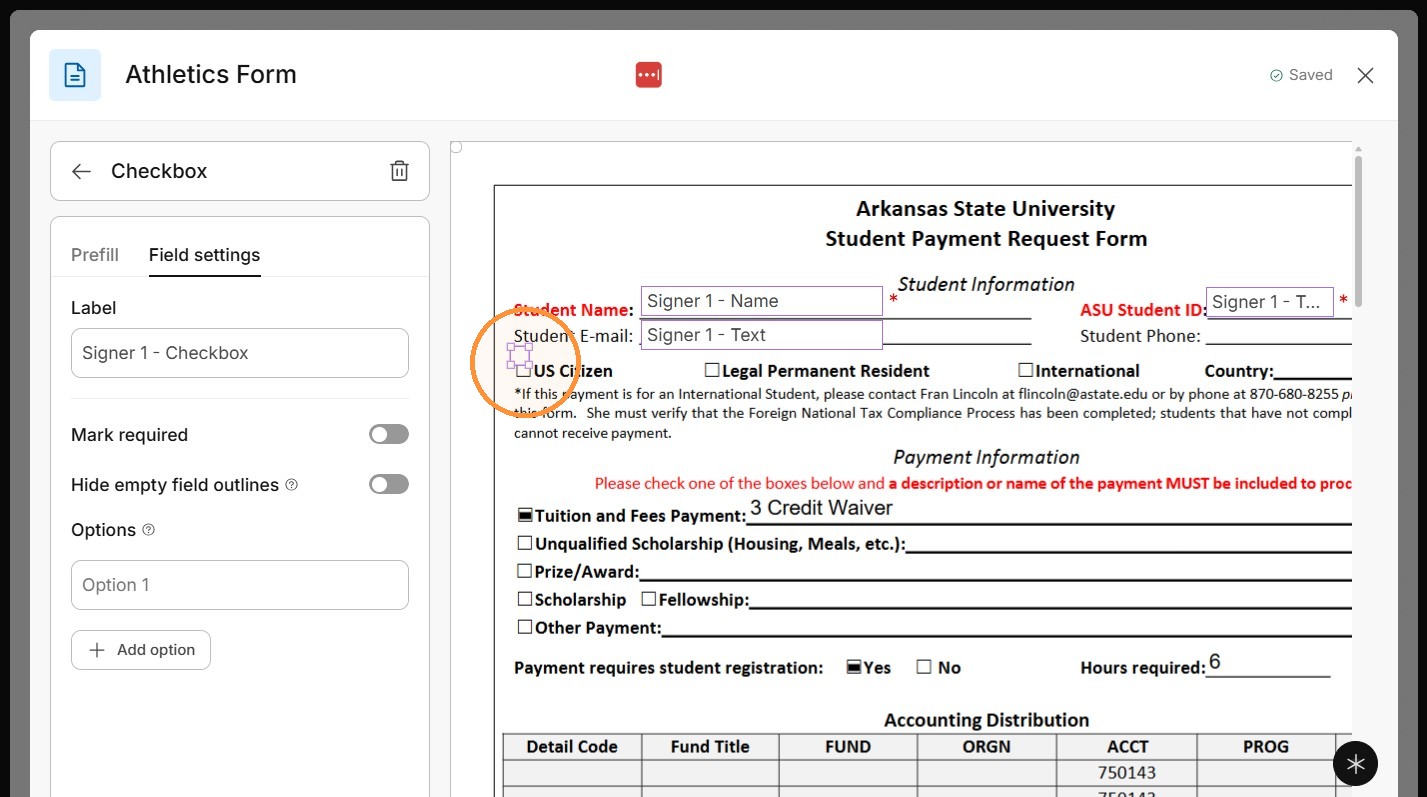
26. For the additional checkbox options, add them in the "Field Settings".
While you can drag over multiple checkbox fields, the aforementioned method is recommended per question/section. It helps with data collecting on other steps.
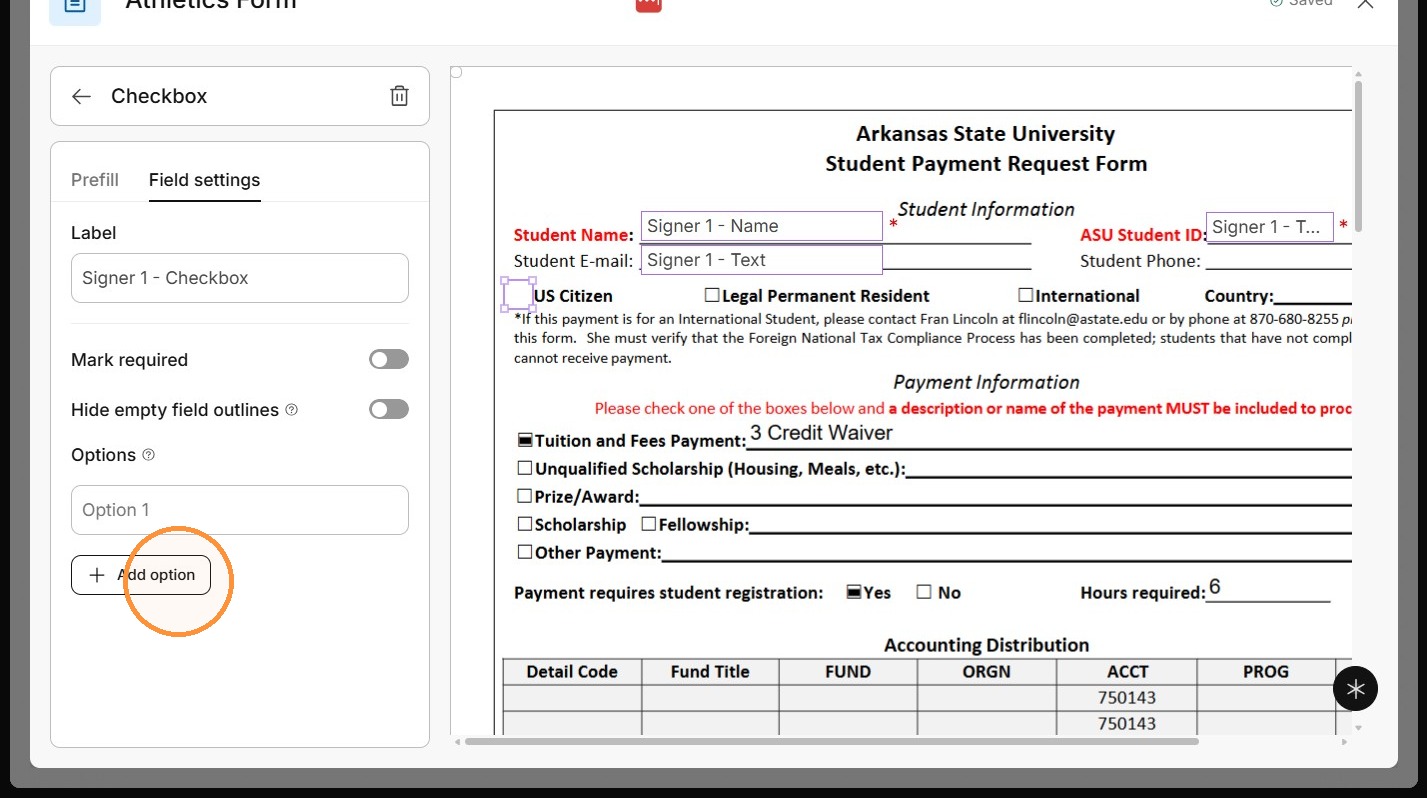
27. Name all of the options.
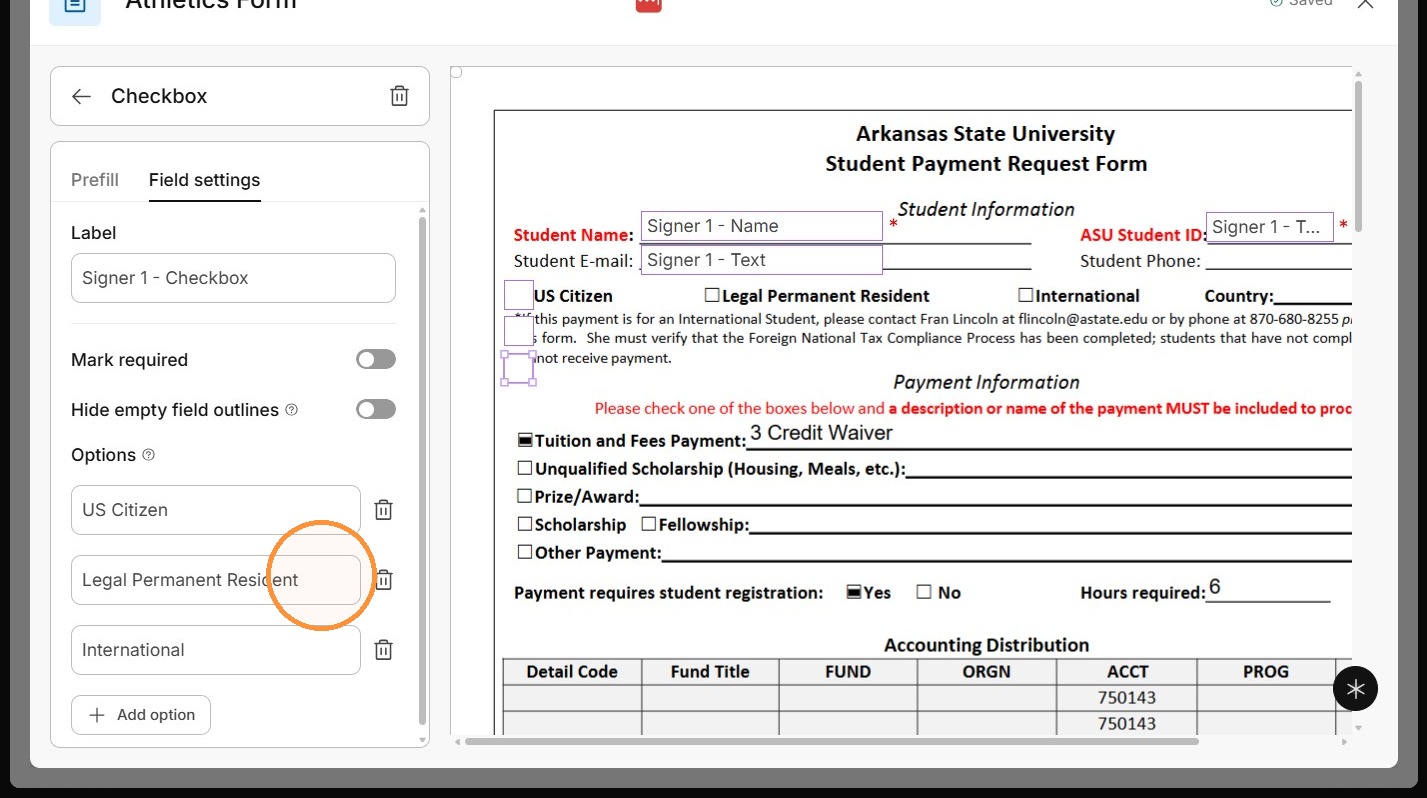
28. Click away from the checkbox, then drag it to the applicable location.
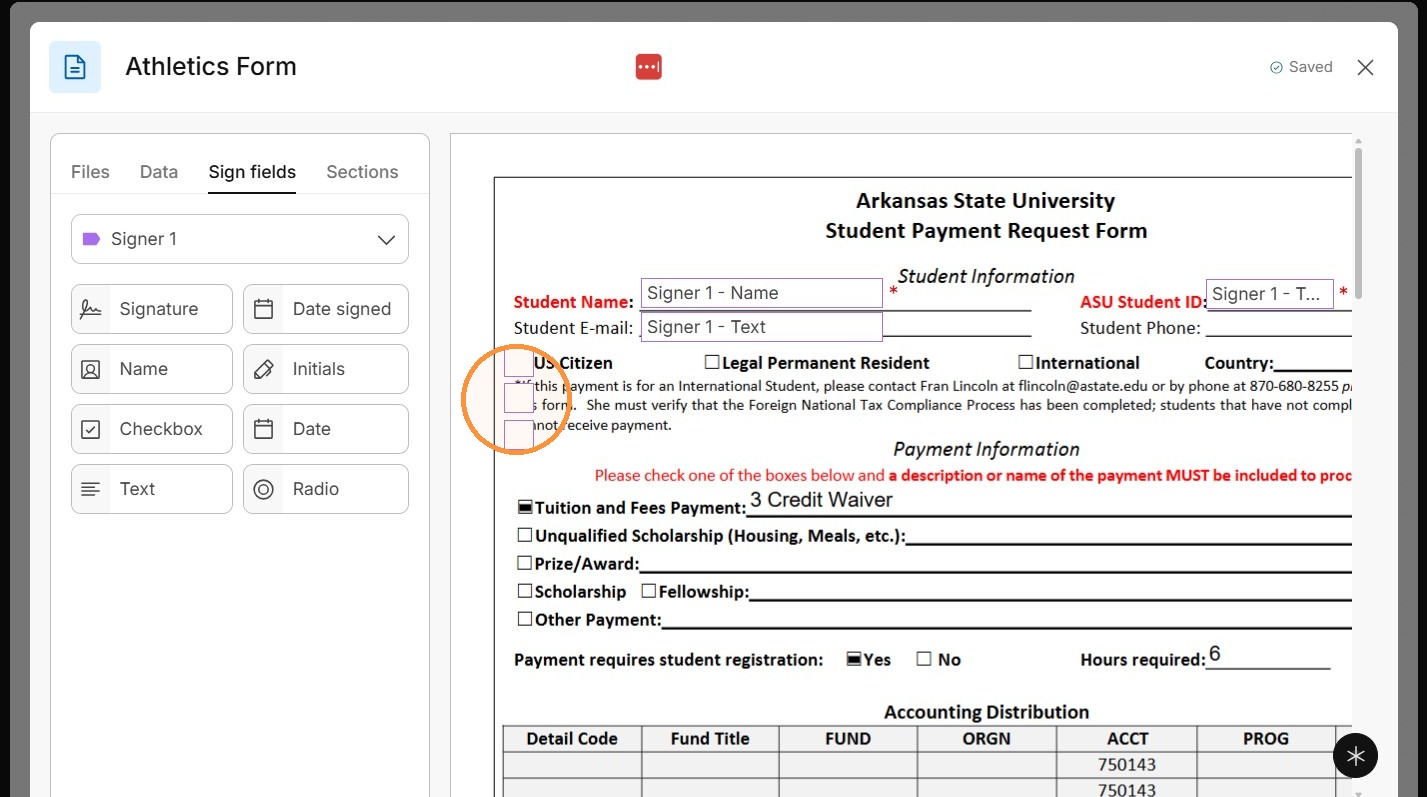
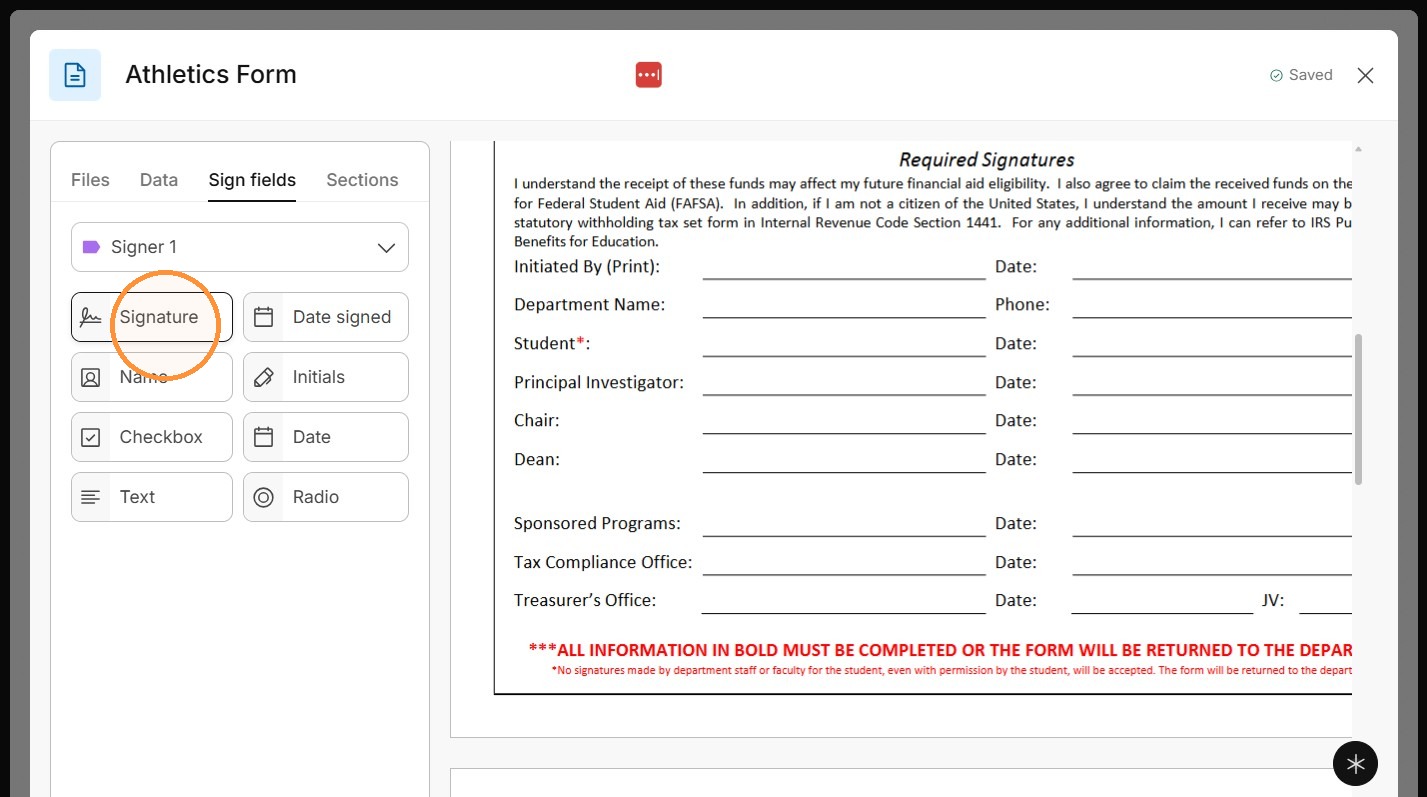
29. Click Signature.
Be sure you select the correct signer for the field you need.
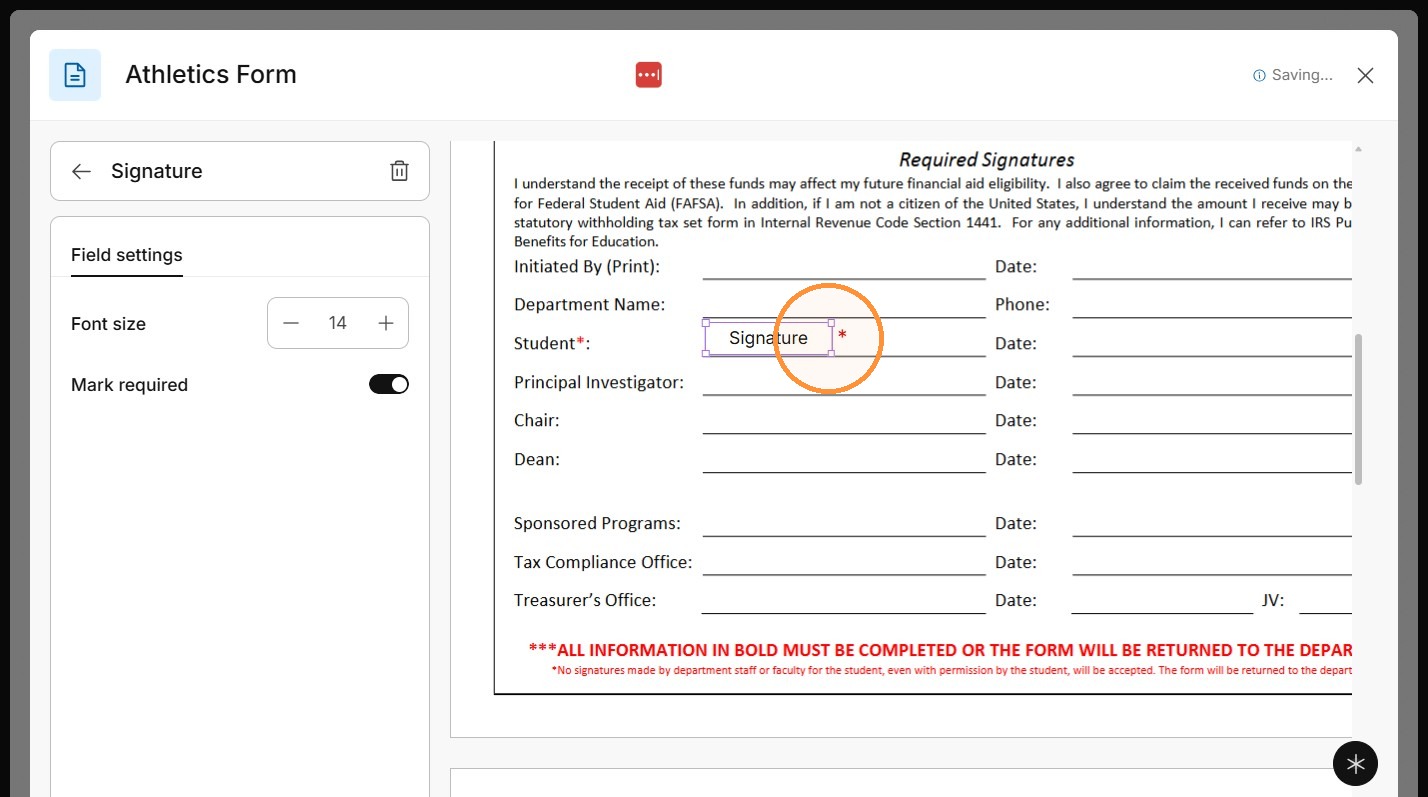
30. Place the signature field on the Student line. You can drag and drop onto PDFs and DOCX. If it is a DOCX, you can also click and place it where your cursor is.
Size the field appropriately
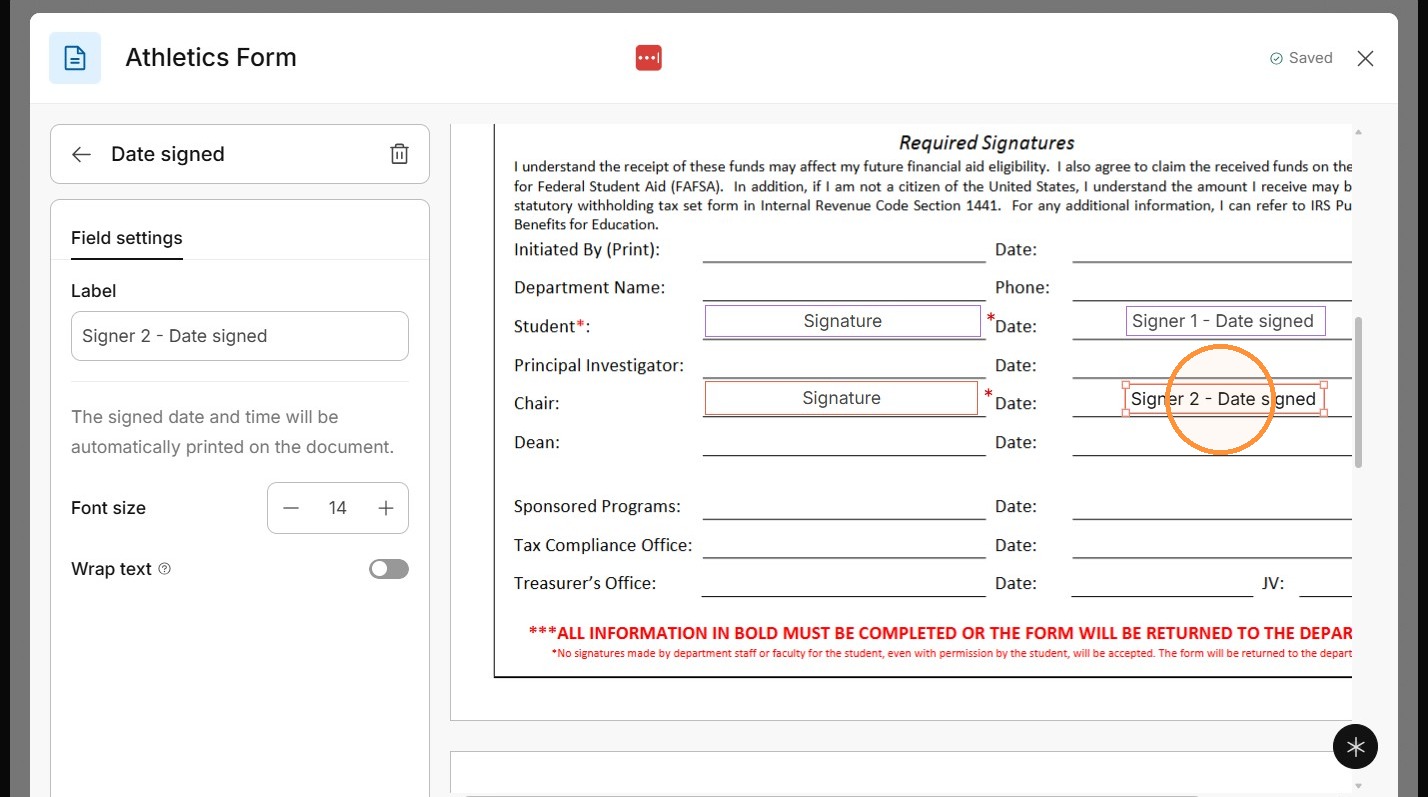
31. Place all fields needed for each participant.
32. Close the document editor.
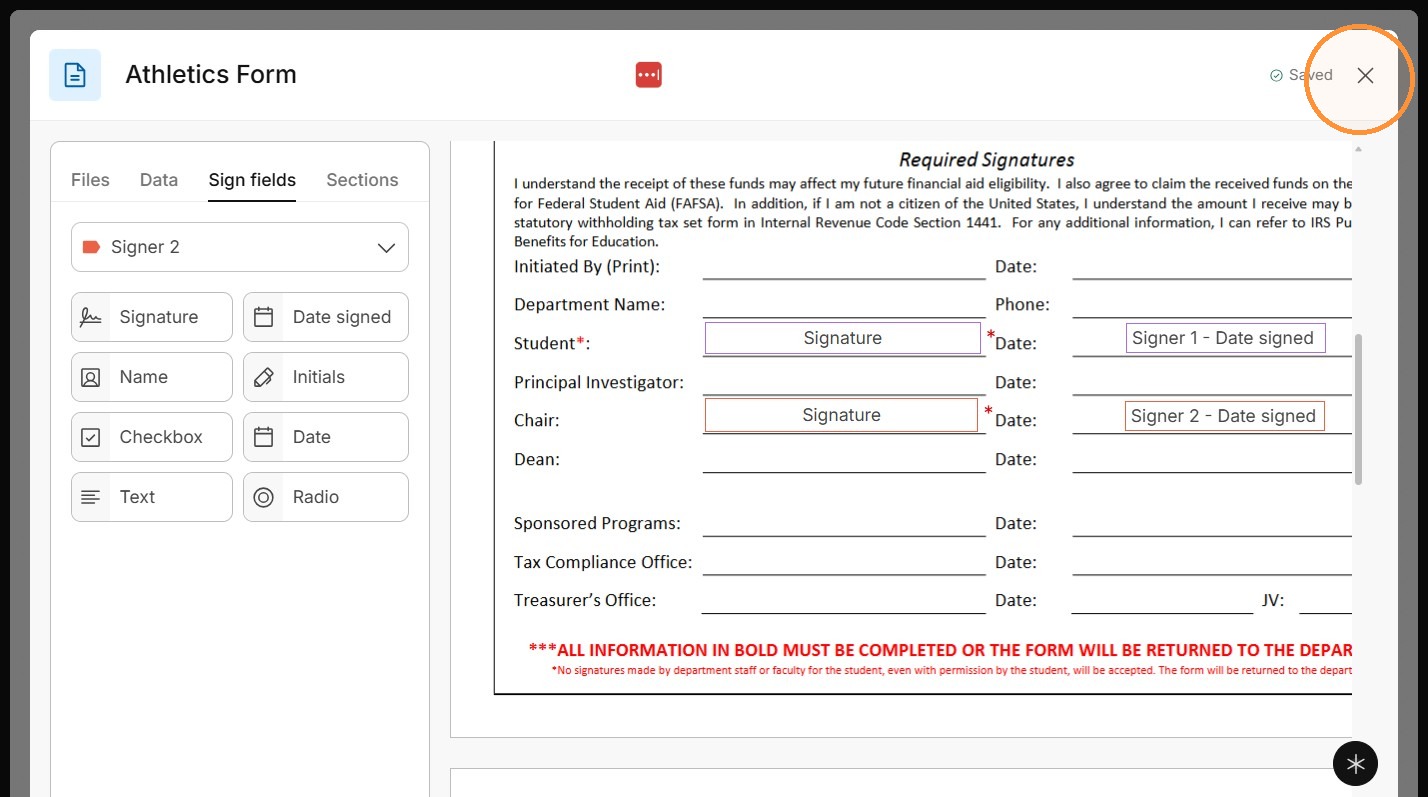
33. Click this icon.
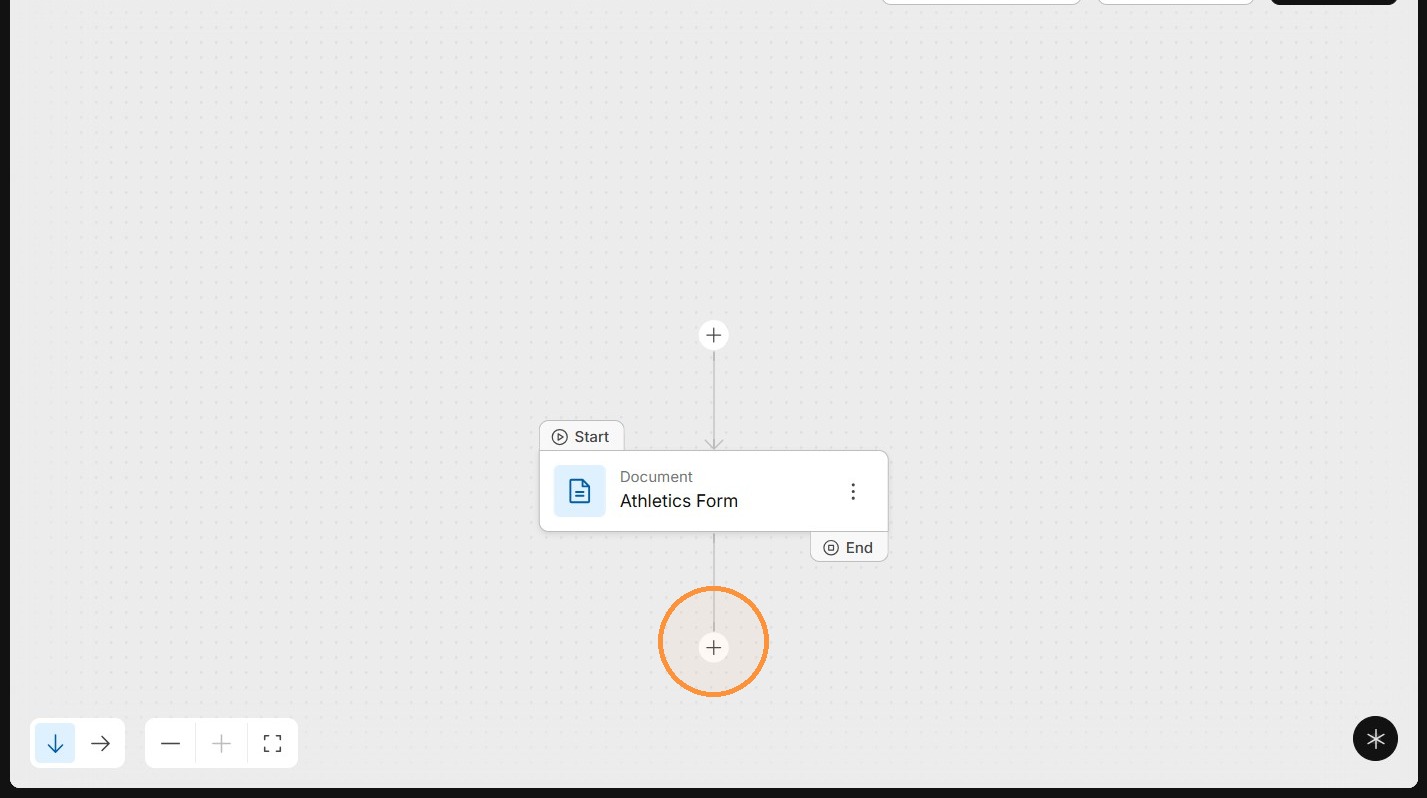
Workflow Steps
34. Open the workflow step picker.
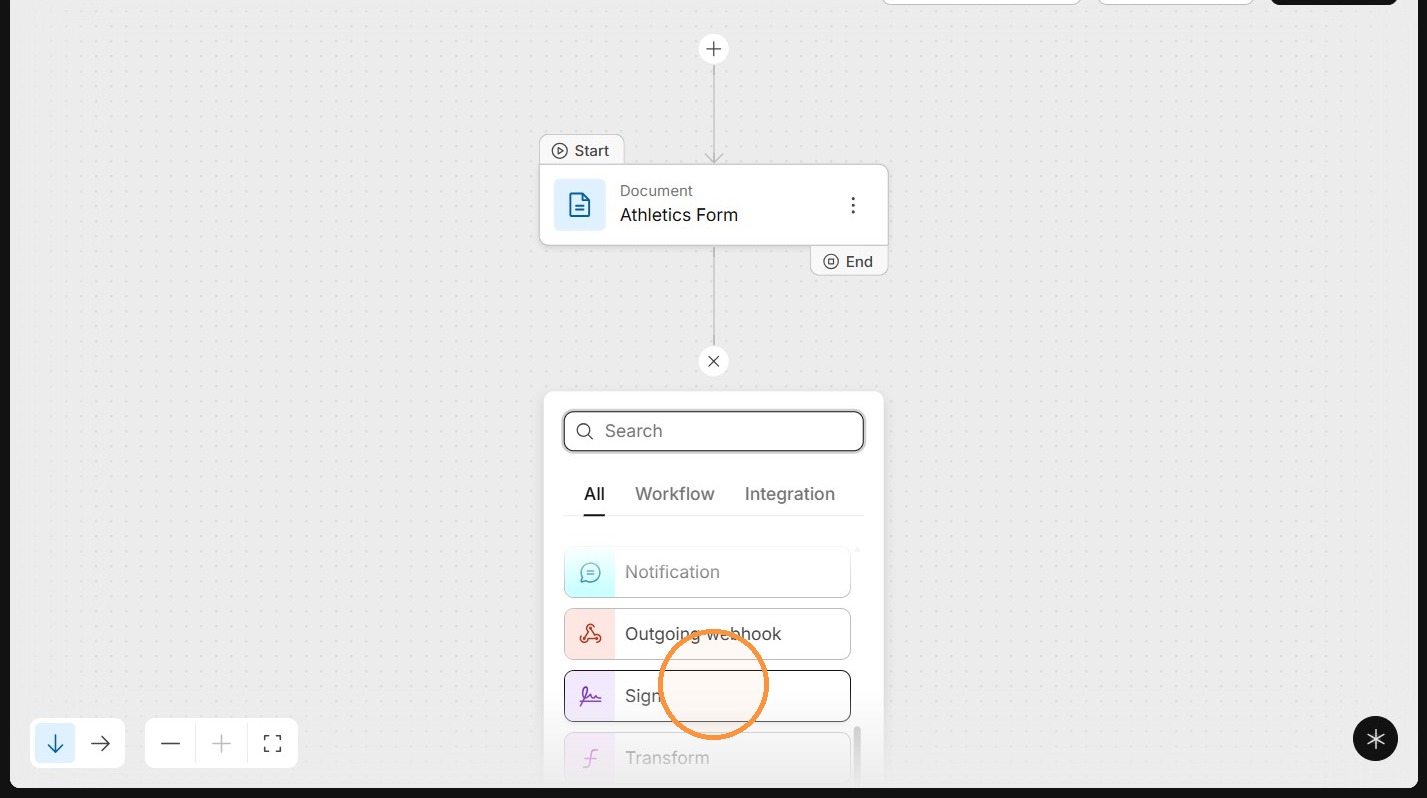
35. Select Sign.
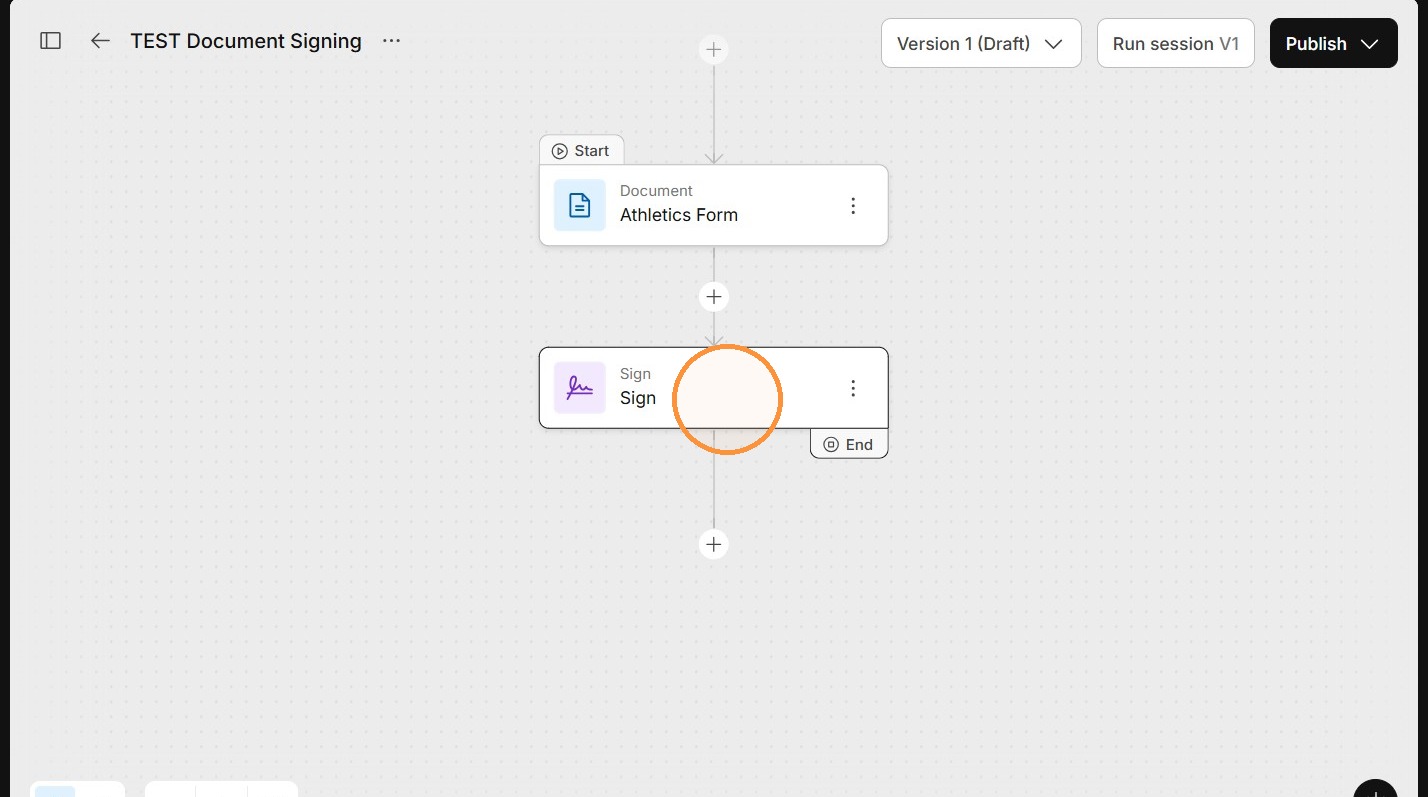
36. Open the Assignments tab.
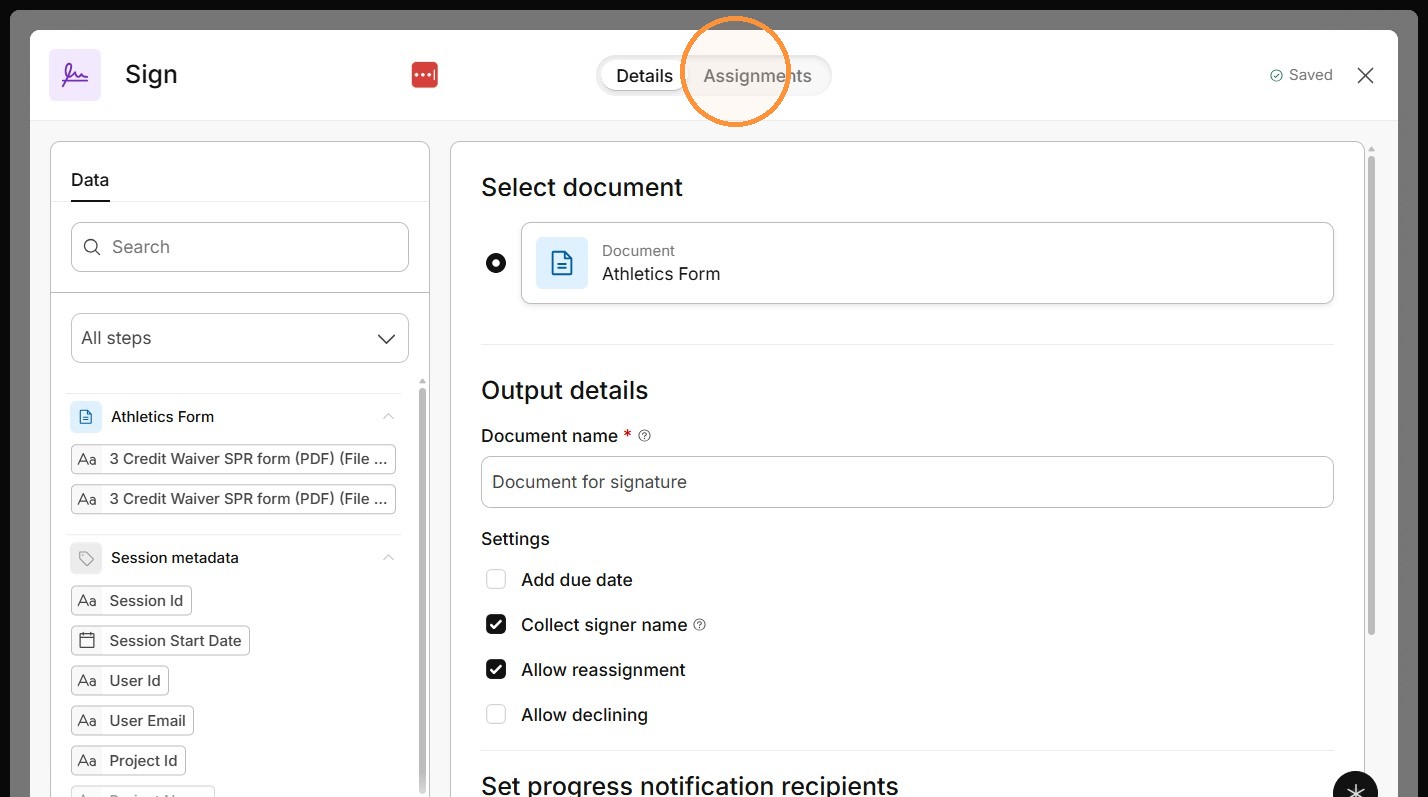
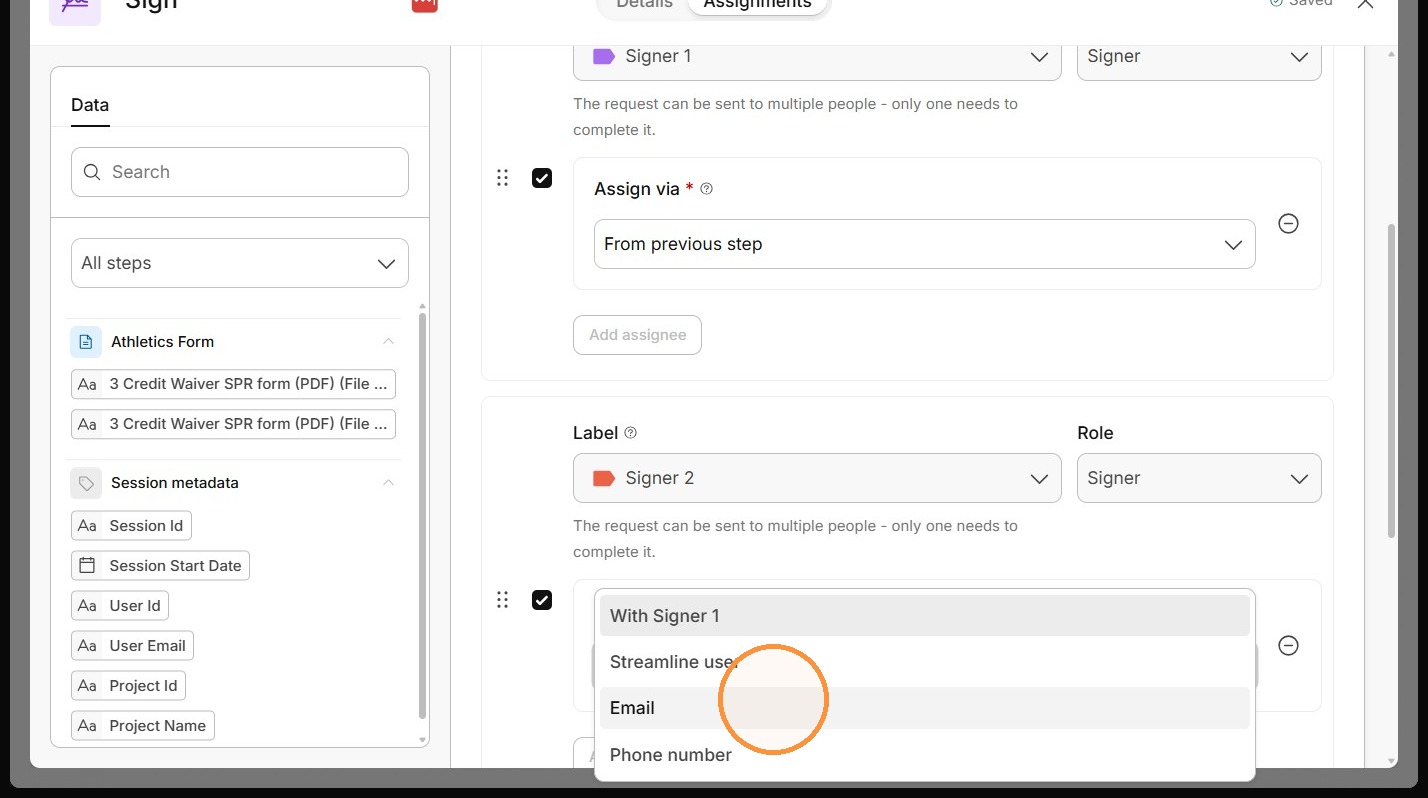
37. Select Email as the assignment method.
If the person filling out the document needs to be the one to sign it, keep their "Assign via" set to "From previous step".
Other signers will need to be switched to "Email".
If you select the default "With Signer 1" option, after Signer 1 submits, they will be asked to input the email address of the next signer.
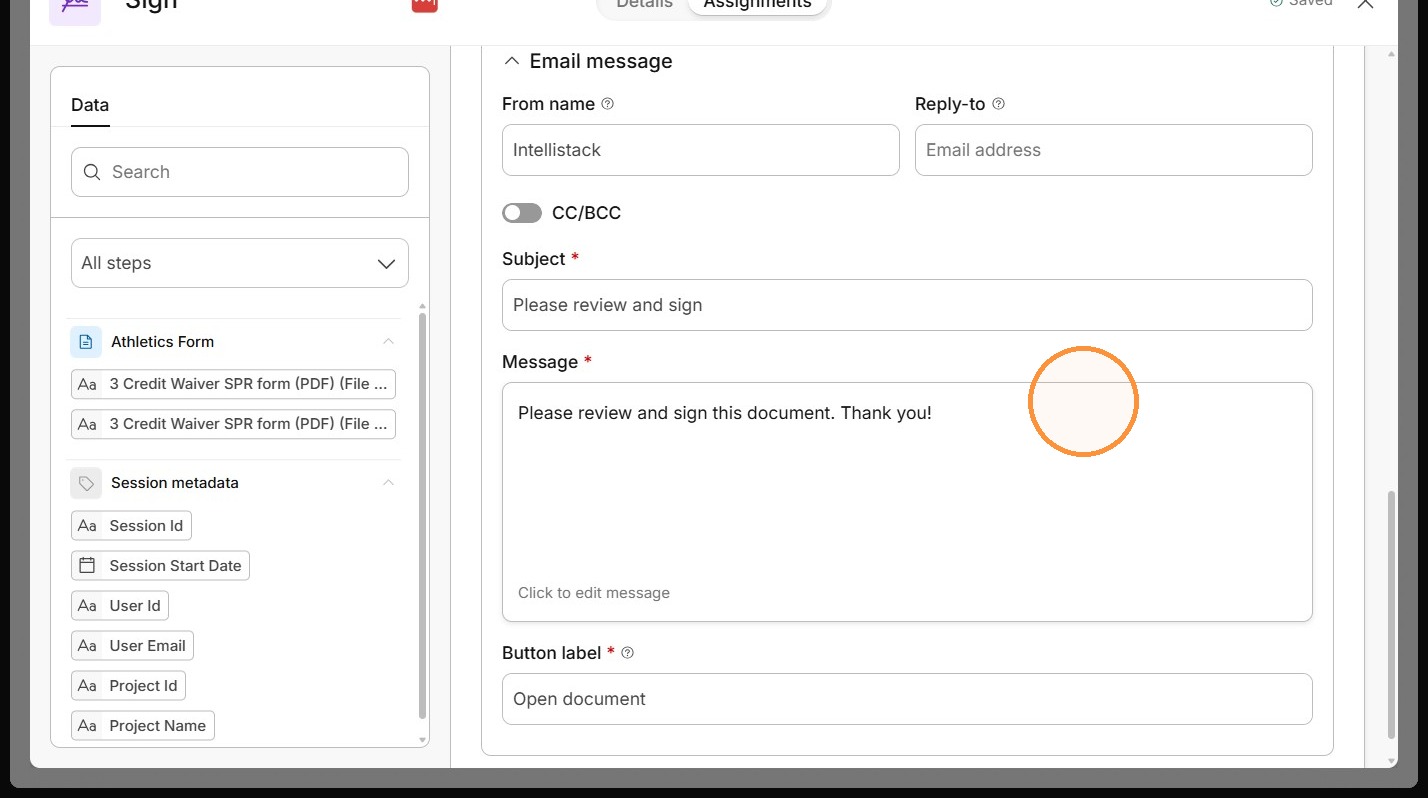
38. Click the email message field.
Create the message you would like the signer to receive.
39. Return to the workflow canvas.
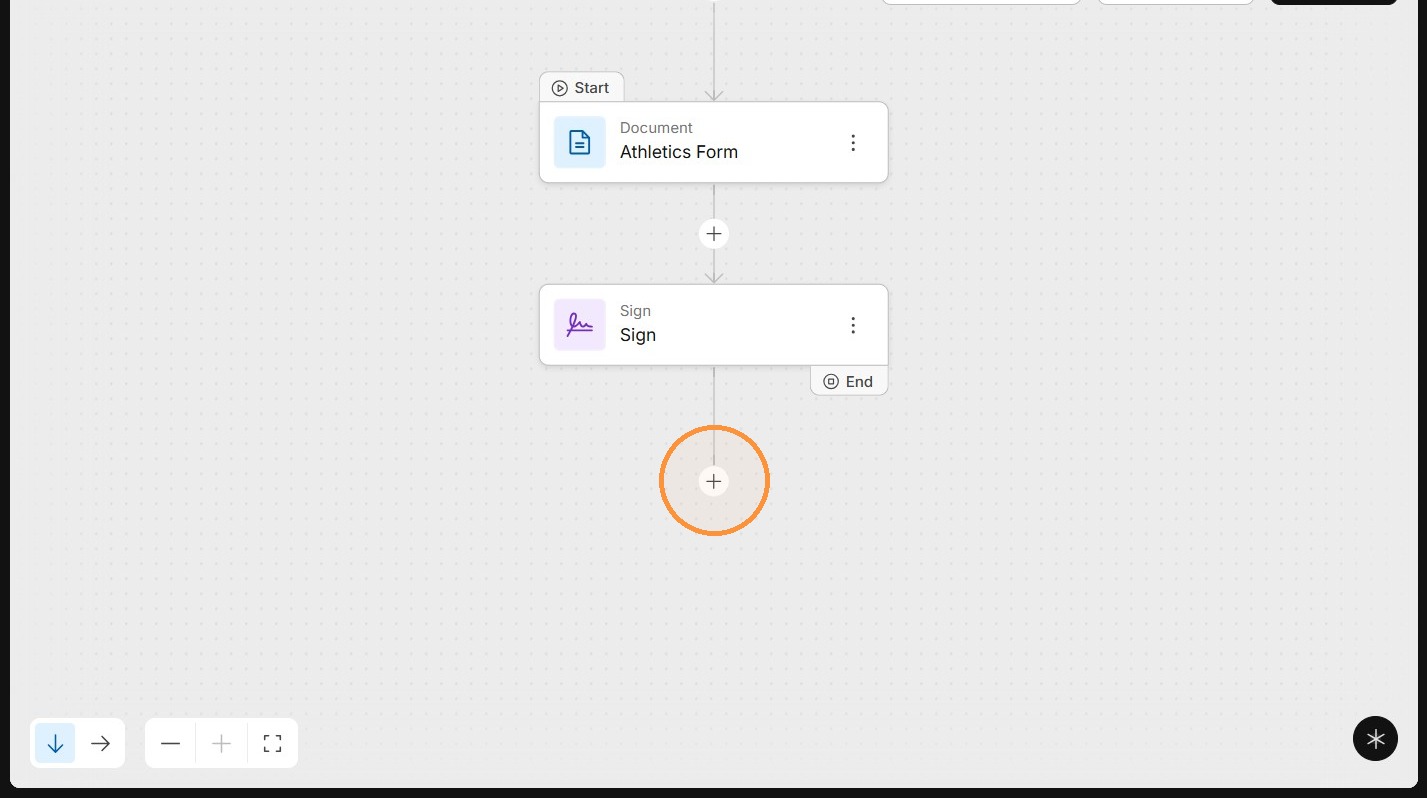
40. Select Notification.
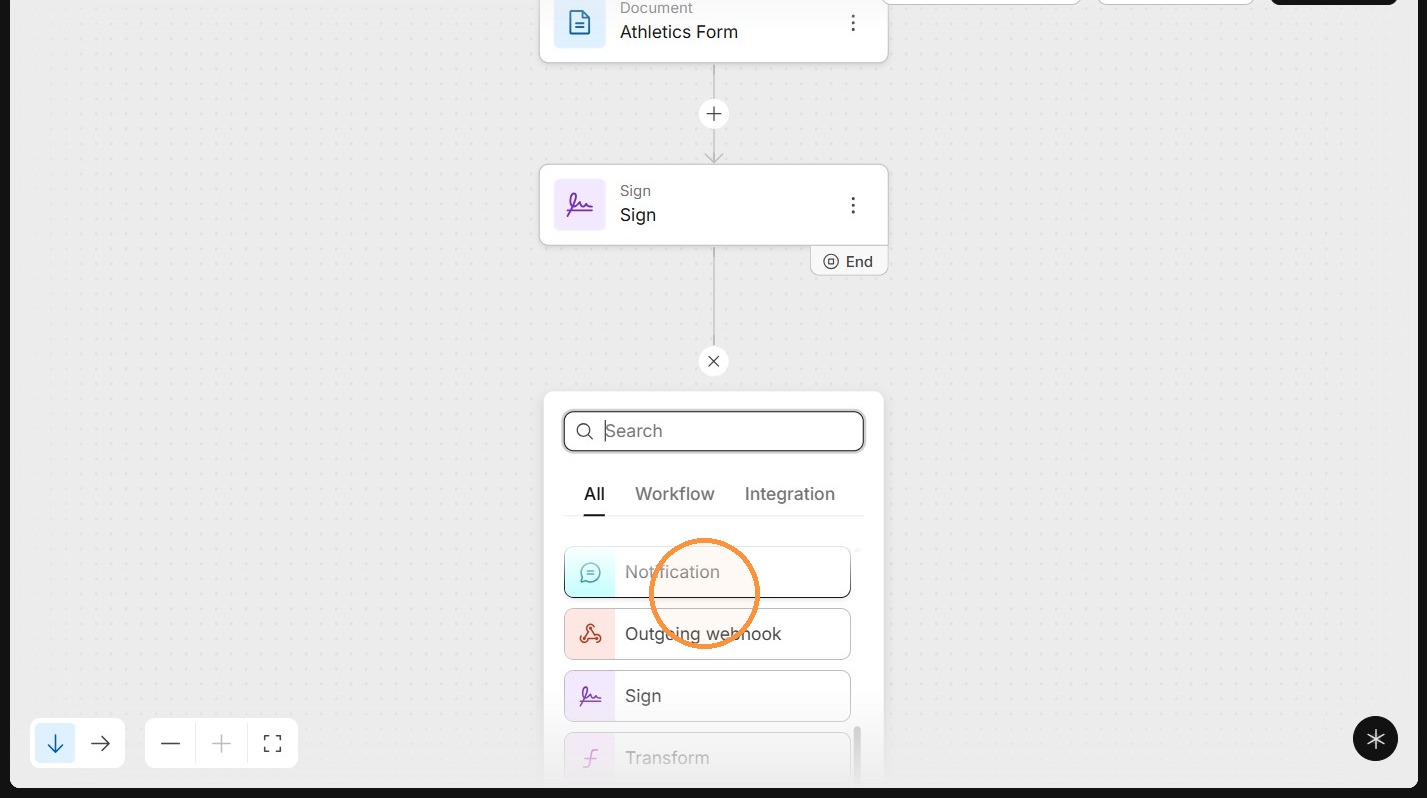
41. Click the notification recipient field.
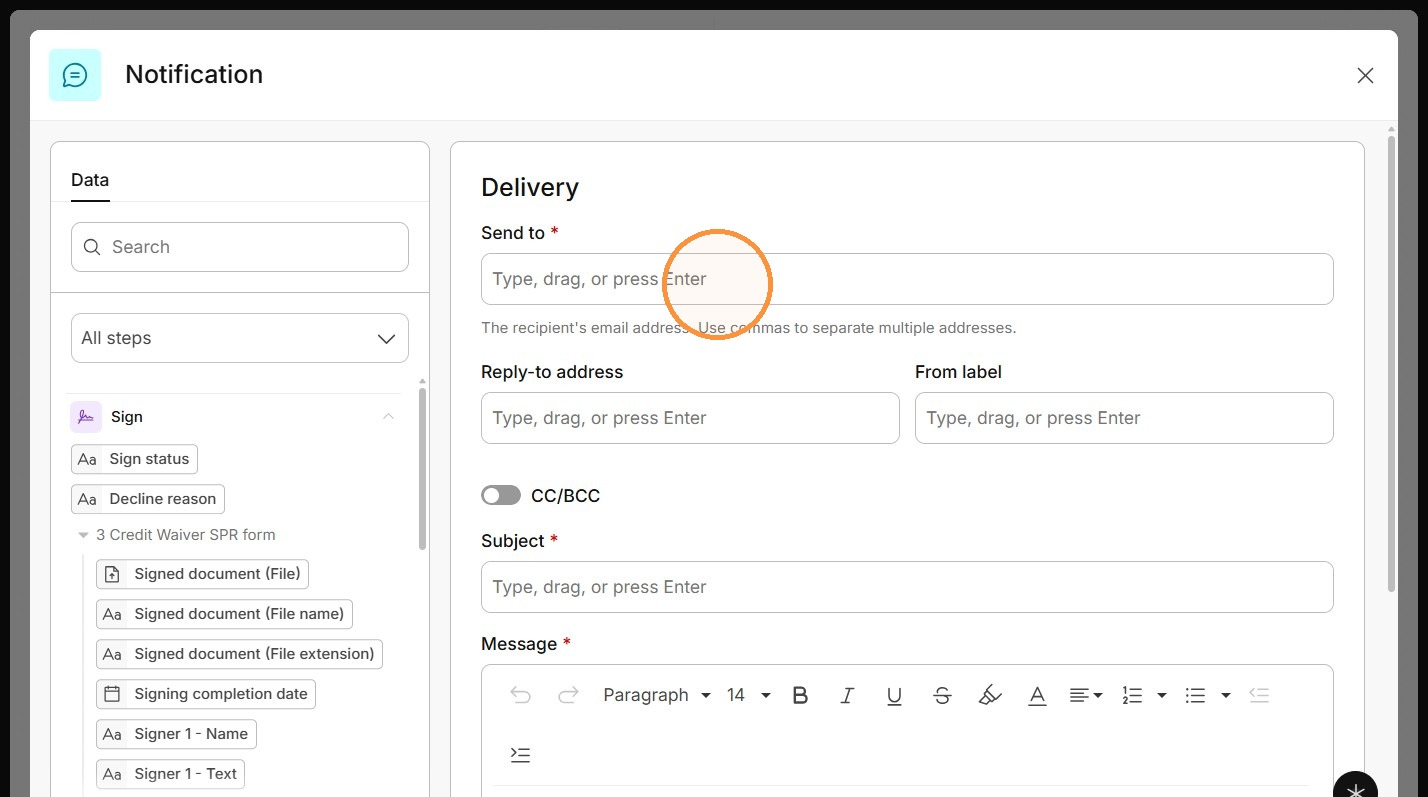
42. Type the email address of the person(s) who need to receive the final signed document.
If one of the fields on the document is an email address, you can select it from the "data" tab and drag it over to the "Send to" box. Be sure to separate all with commas.
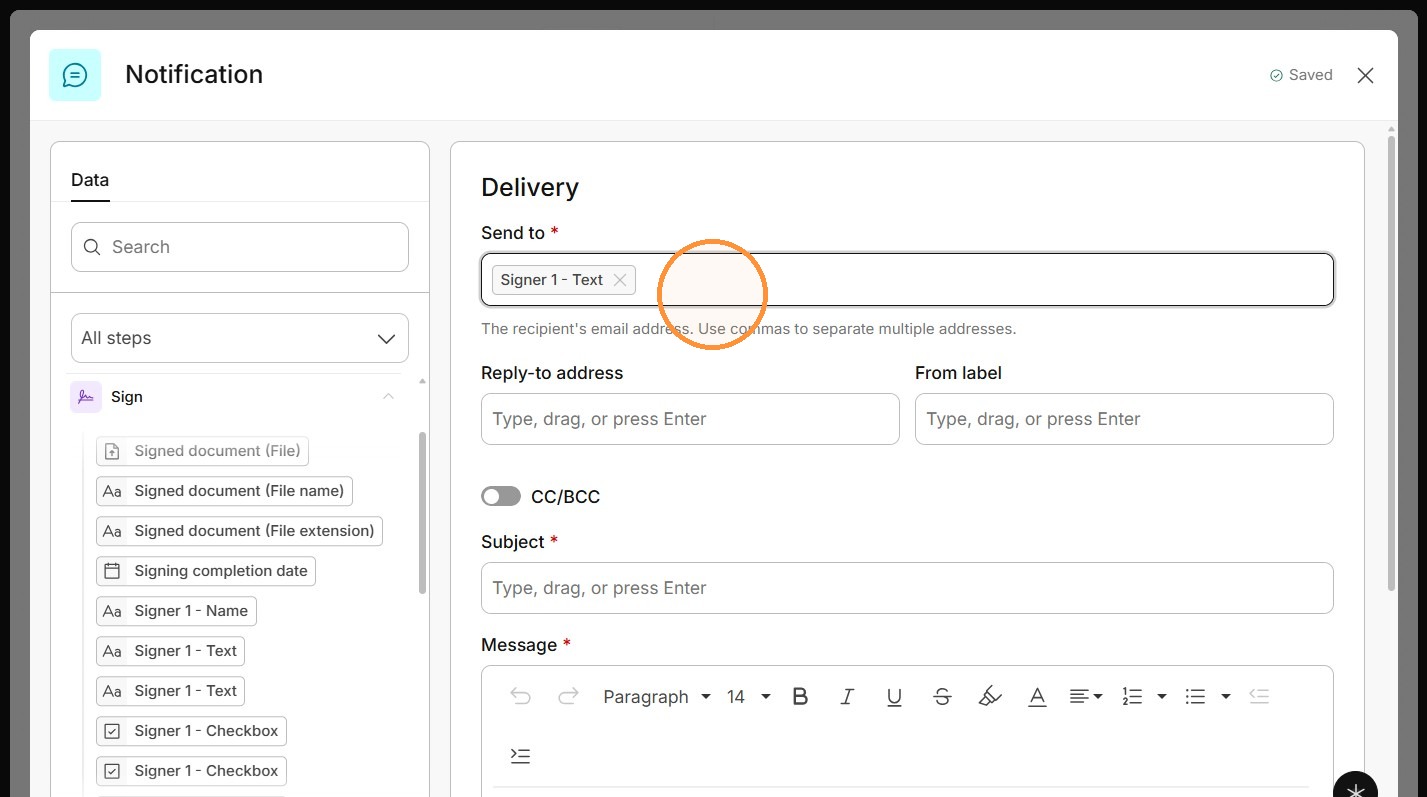
43. Create the email notification message.
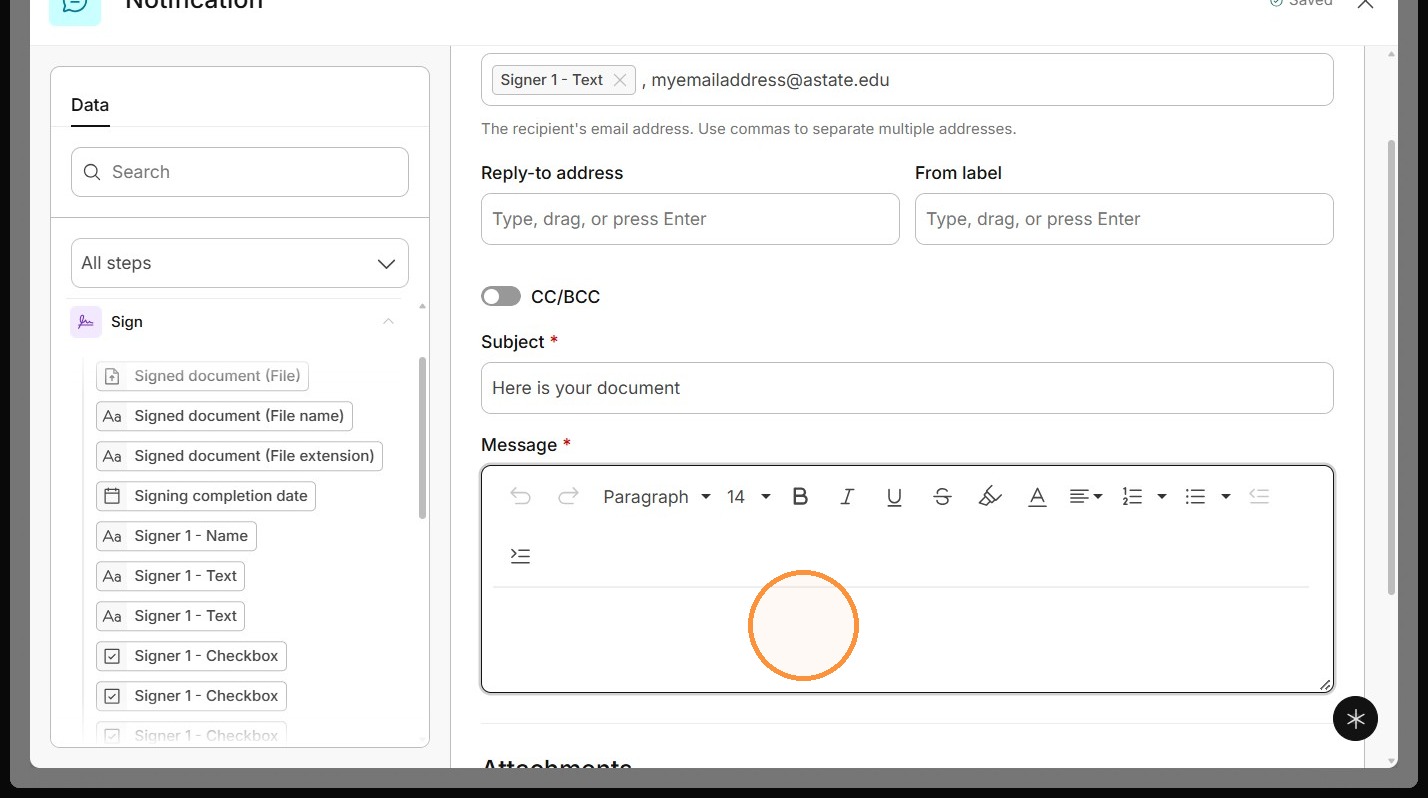
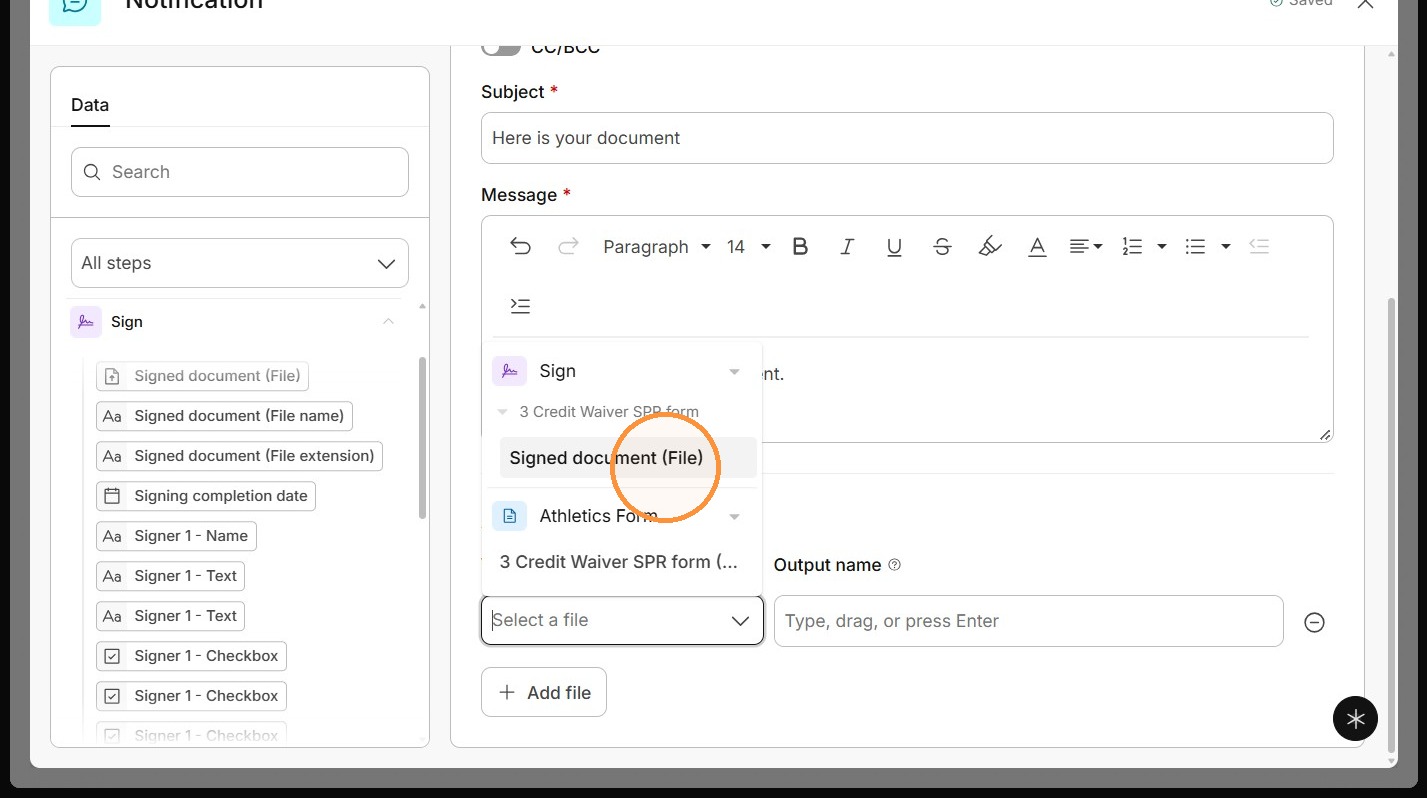
44. Open the workflow file selector at the bottom and select the signed document.
If there are other files or attachments, you can add those as well.
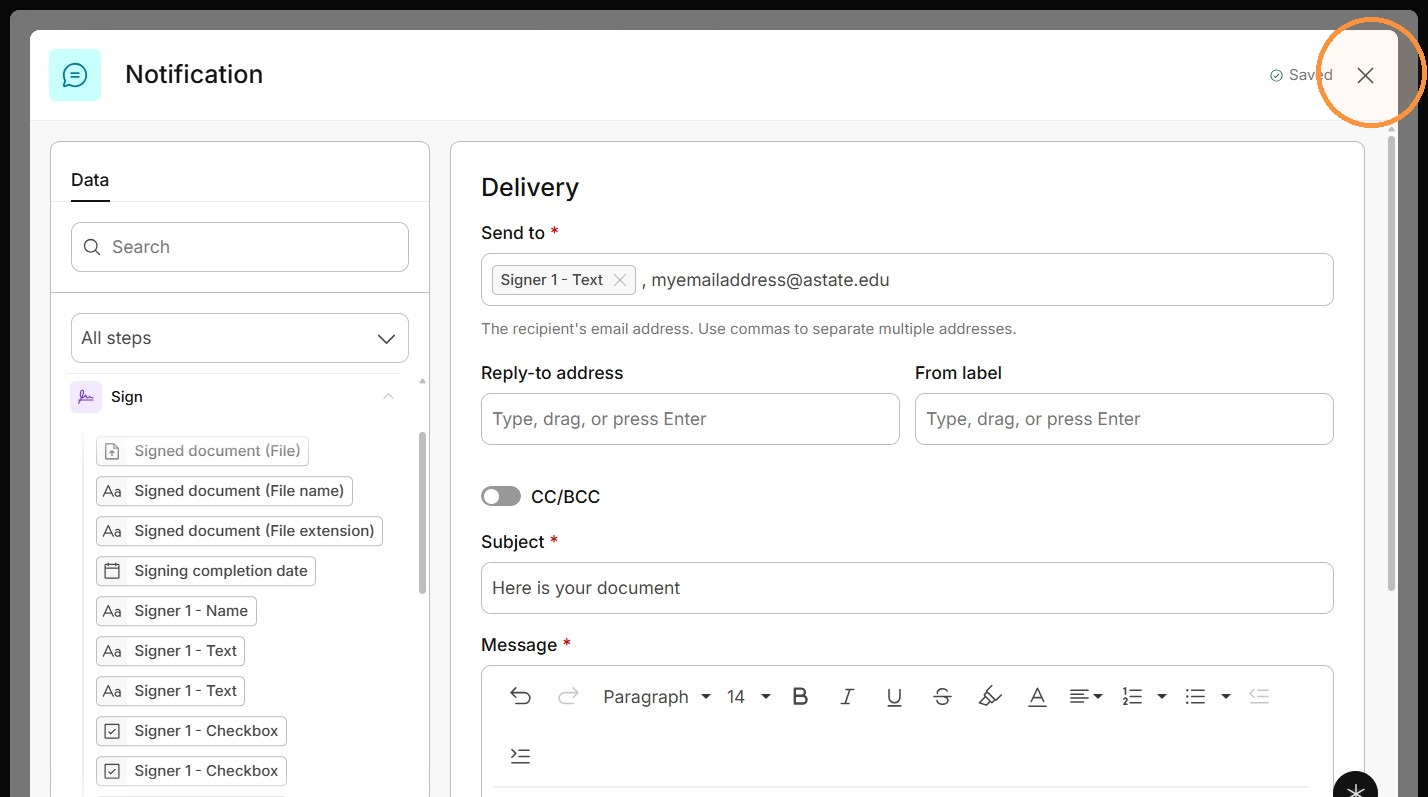
45. Close the notification editor.
Publish and Share
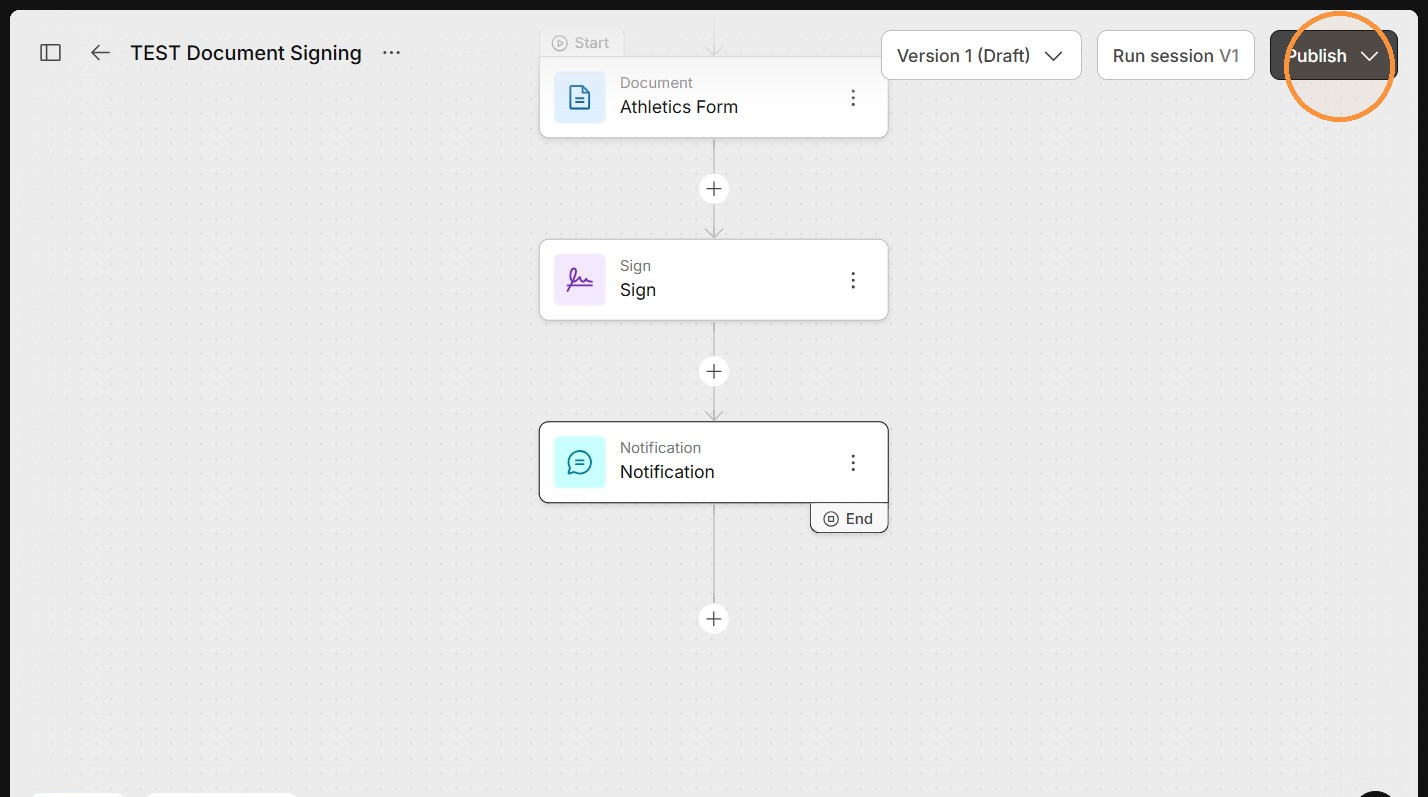
46. Open the Publish menu.
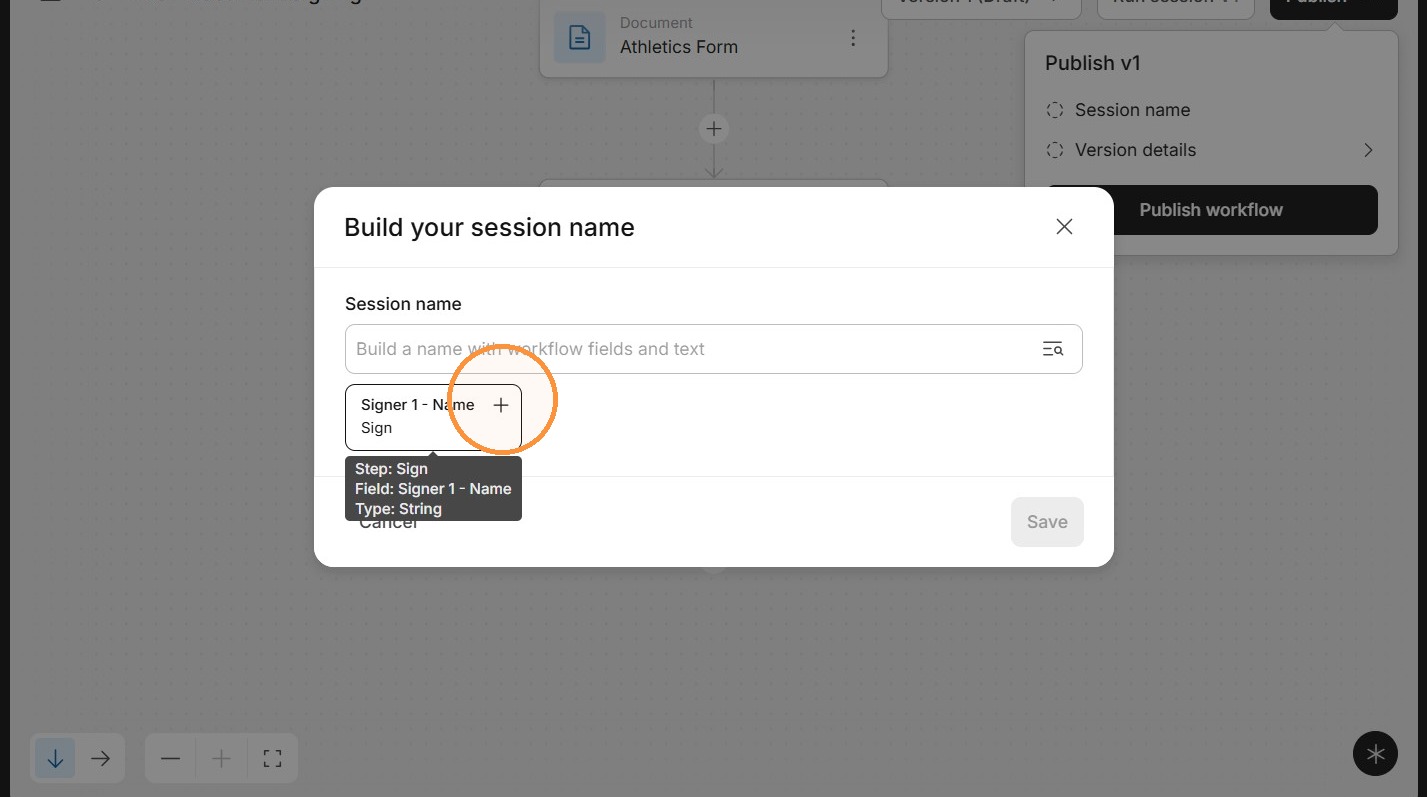
47. Open Session name.
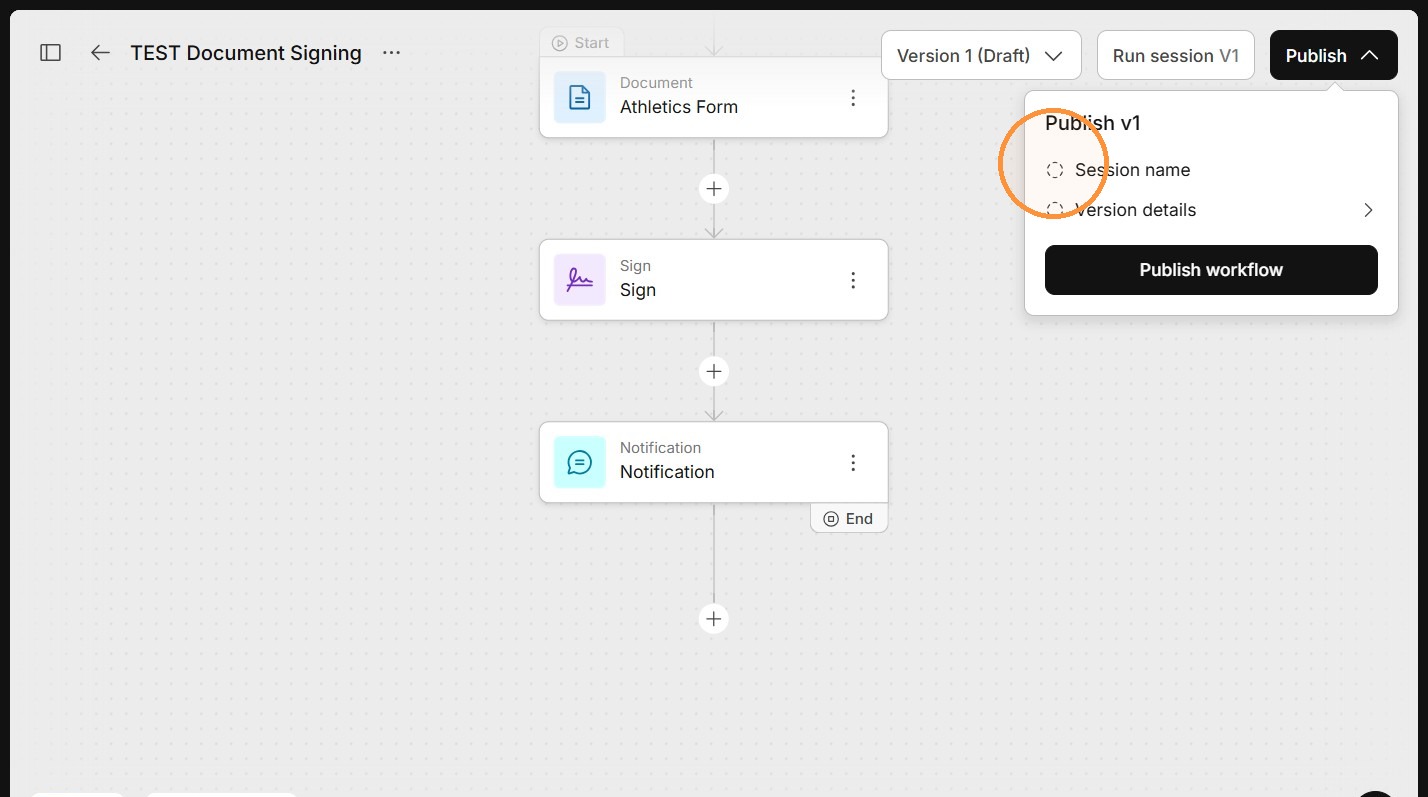
48. Select Signer 1 - Name for the session name.
Heed the data warning. Don't use sensitive information from the session. Names and Student ID are fine.
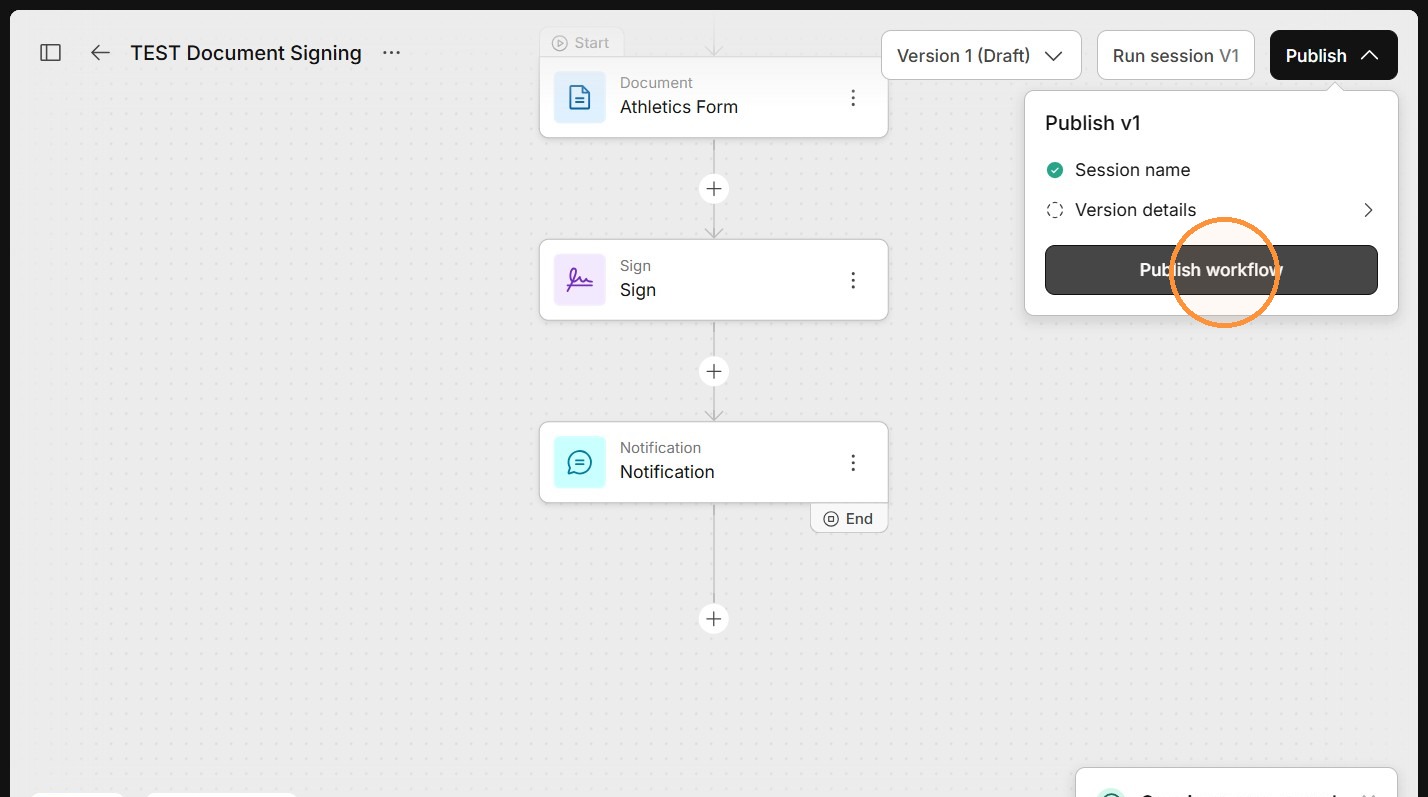
49. Click Publish workflow.
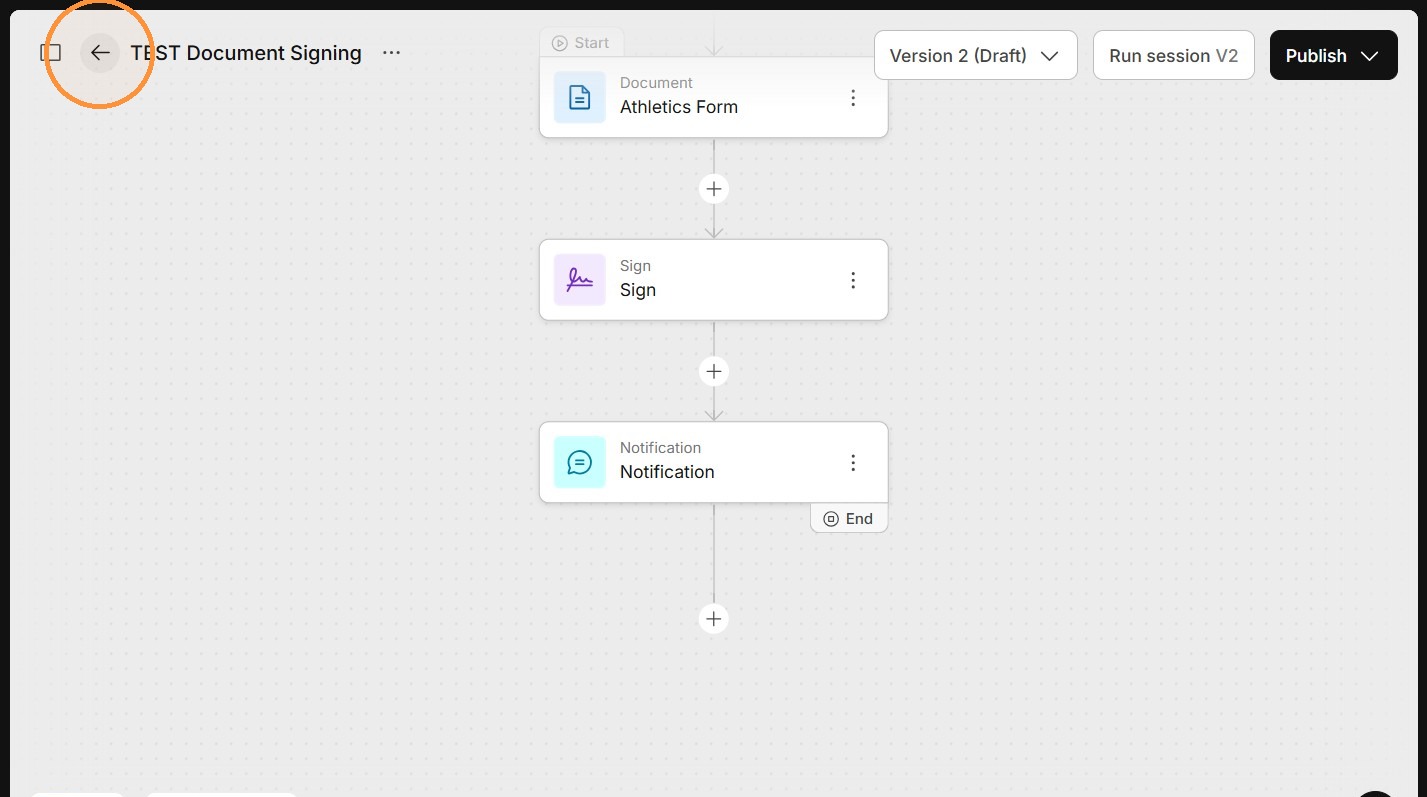
50. Return to the project sessions page.
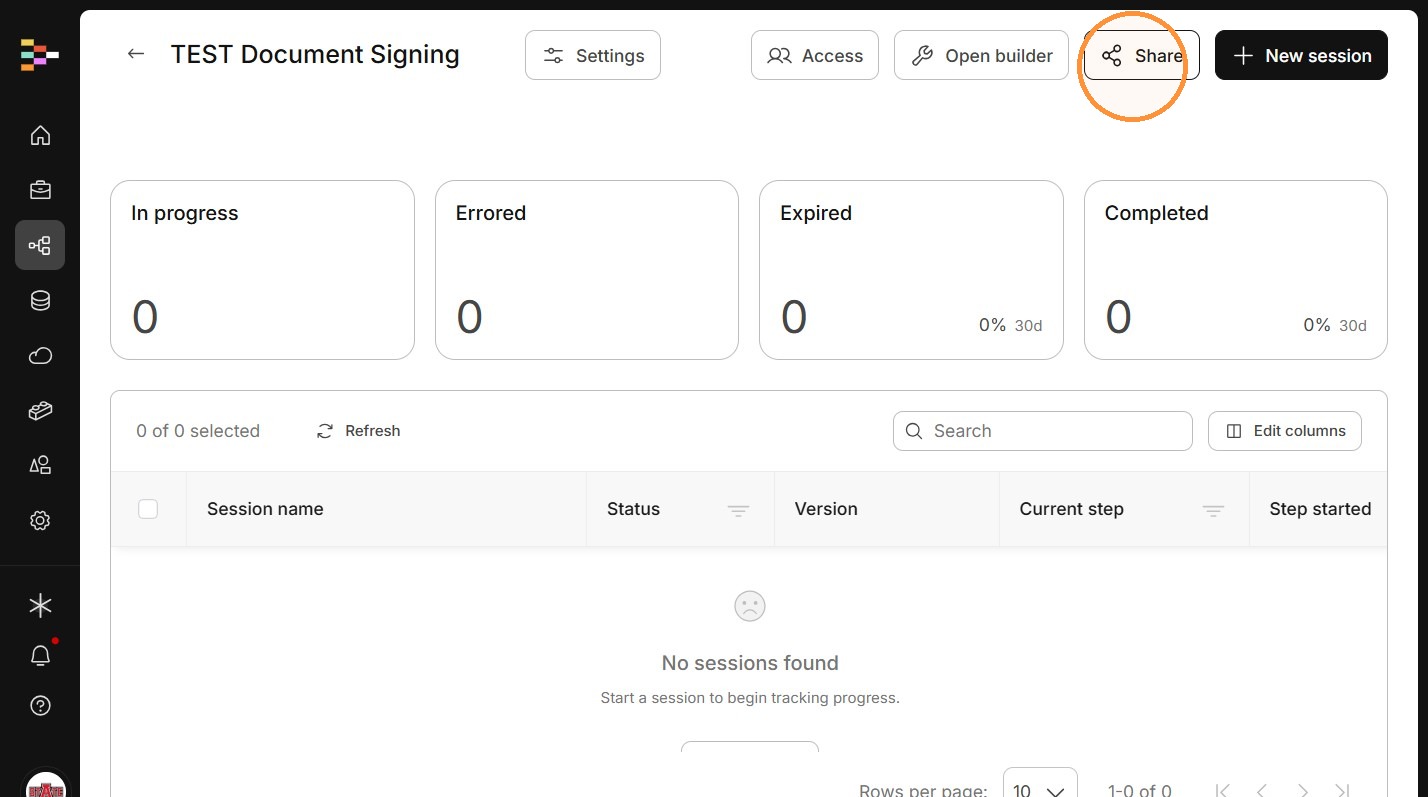
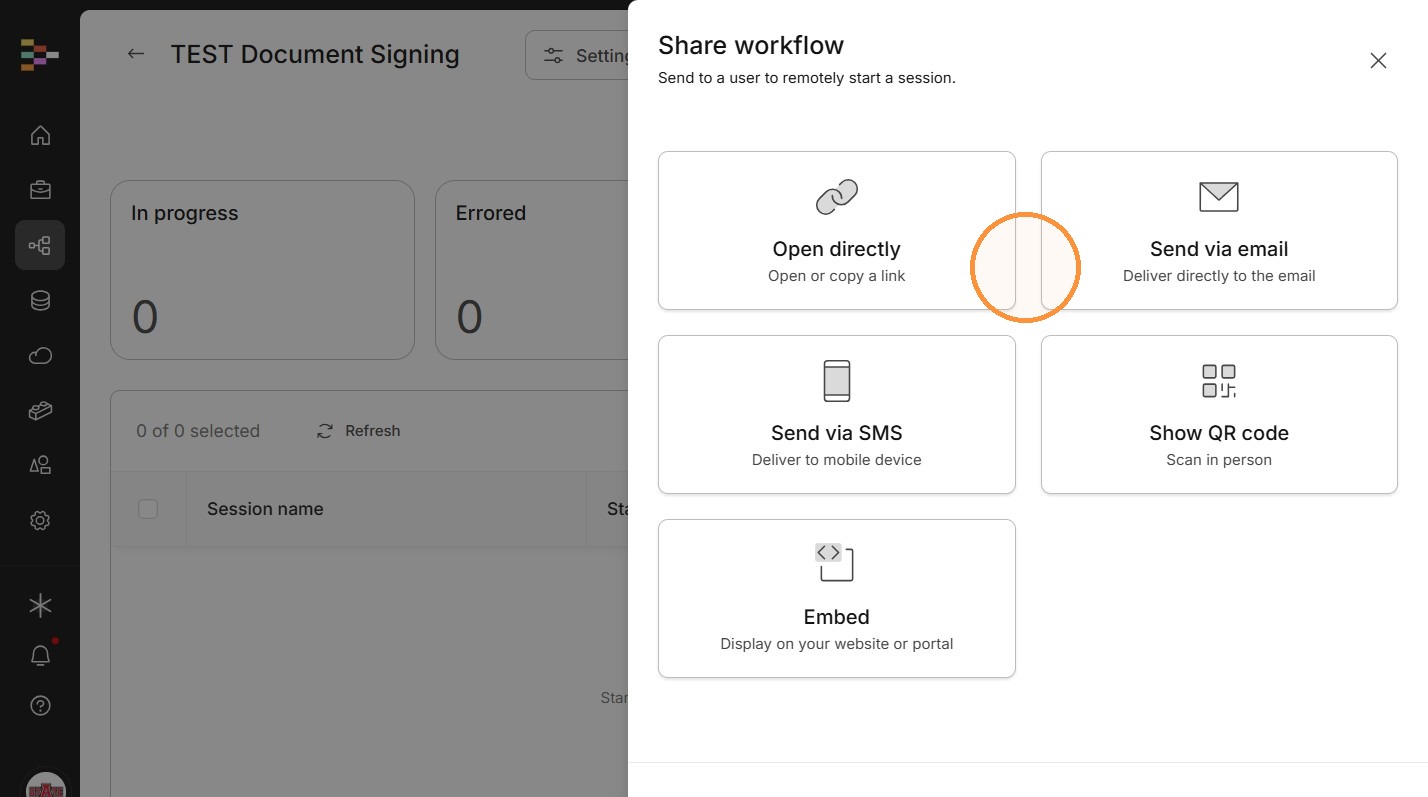
52. Select Open directly.
You may also like using the QR code.